CentOS 6.x Server Installation
Published 2014-01-22
This tutorial shows how to install a basic CentOS 6.x server.- 2014-11-28 UPDATE
-
I wrote a new tutorial for CentOS 7, you can find it here.
- 2014-01-21 UPDATE
- Originally I wrote this HowTo for CentOS version 6.3, but I tested also on newer versions and it still valid up to version 6.5.
1. Requirements
To install a CentOS server you will need to download the CentOS 6.5 DVD 1 from a mirror next to you.
The list of mirrors can be found here: http://wiki.centos.org/Download
For a basic installation you only need to download DVD 1 image file
named CentOS-6.5-x86_64-bin-DVD1.iso.
There are also images for a minimal installation, network installation and a Live CD/DVD version.
2. Preliminary Note
Before to start I just want to warn you that this is a practical guide without any warranty, it was written with the purpose to help system administrators, so I won't explain technical details neither the theory behind of them.
For the purpose of this tutorial I created a Virtual Machine with VirtualBox, this means that your hardware it might differs significantly, including the hard disk drives and the network cards.
In this tutorial I will use the hostname server.example.com
with the IP address 192.168.0.100 and the gateway 192.168.0.1, also
these settings might differ for you, so you have to replace them
where appropriate.
3. Install the Operating System
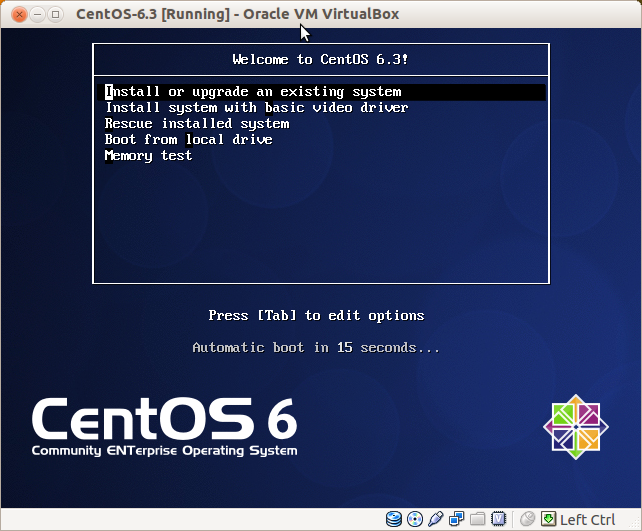
Boot from the first CentOS 6.5 DVD 1 and select Install or upgrade an existing system
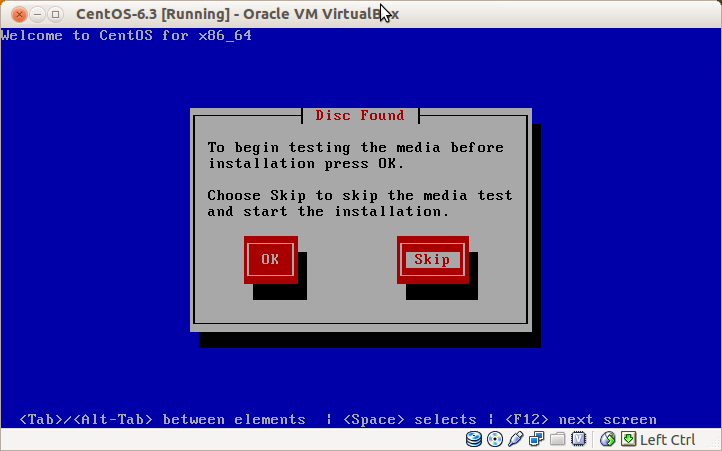
I usually skip the installation media test, if it’s broken it’ll let me know anyway.
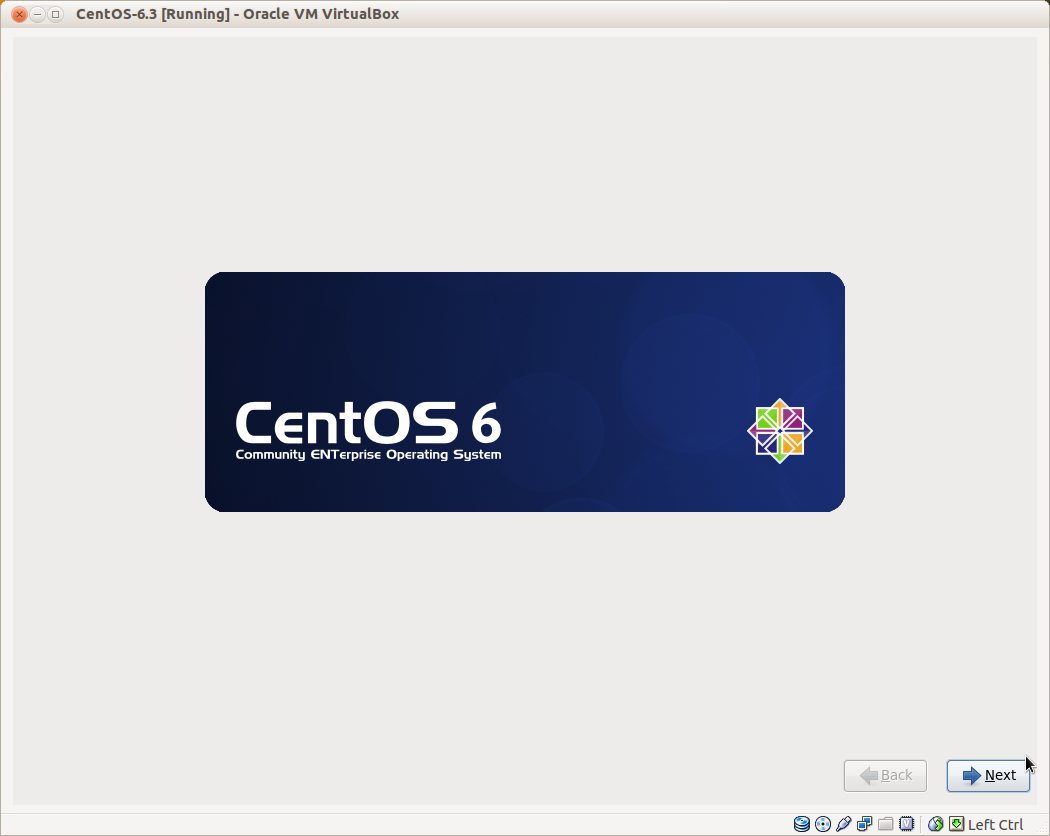
When the welcome screen of the CentOS installer appears, just click on Next
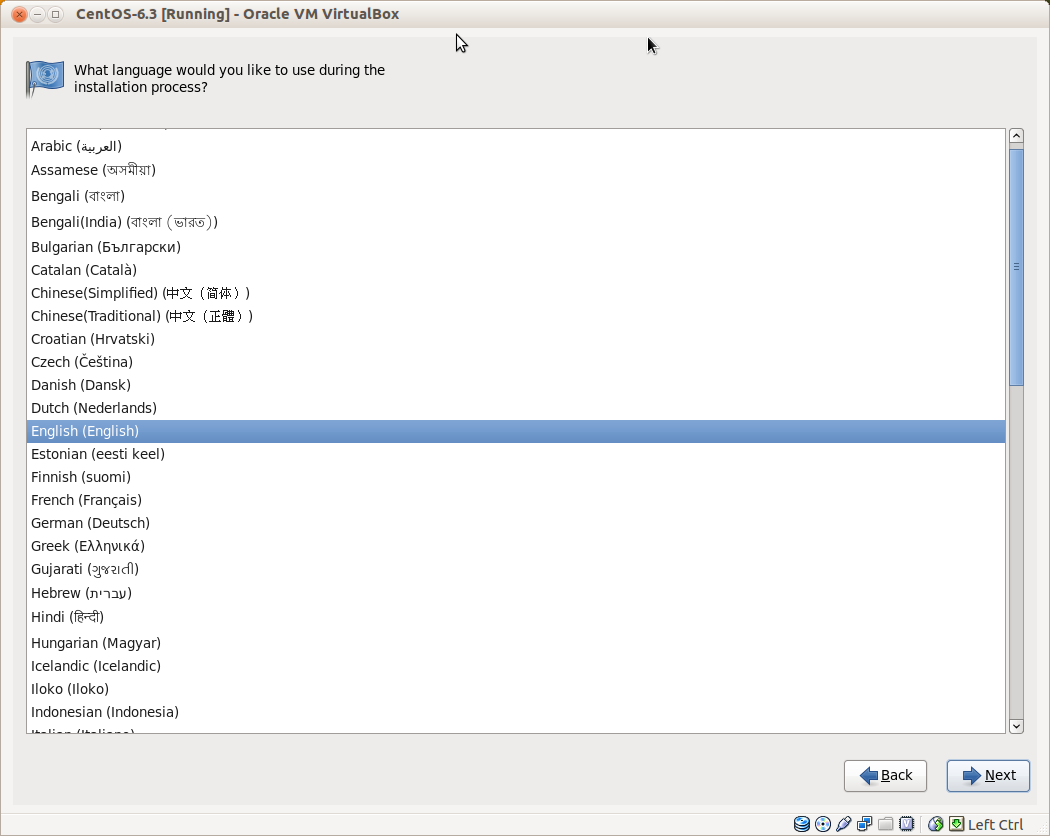
Choose your language.
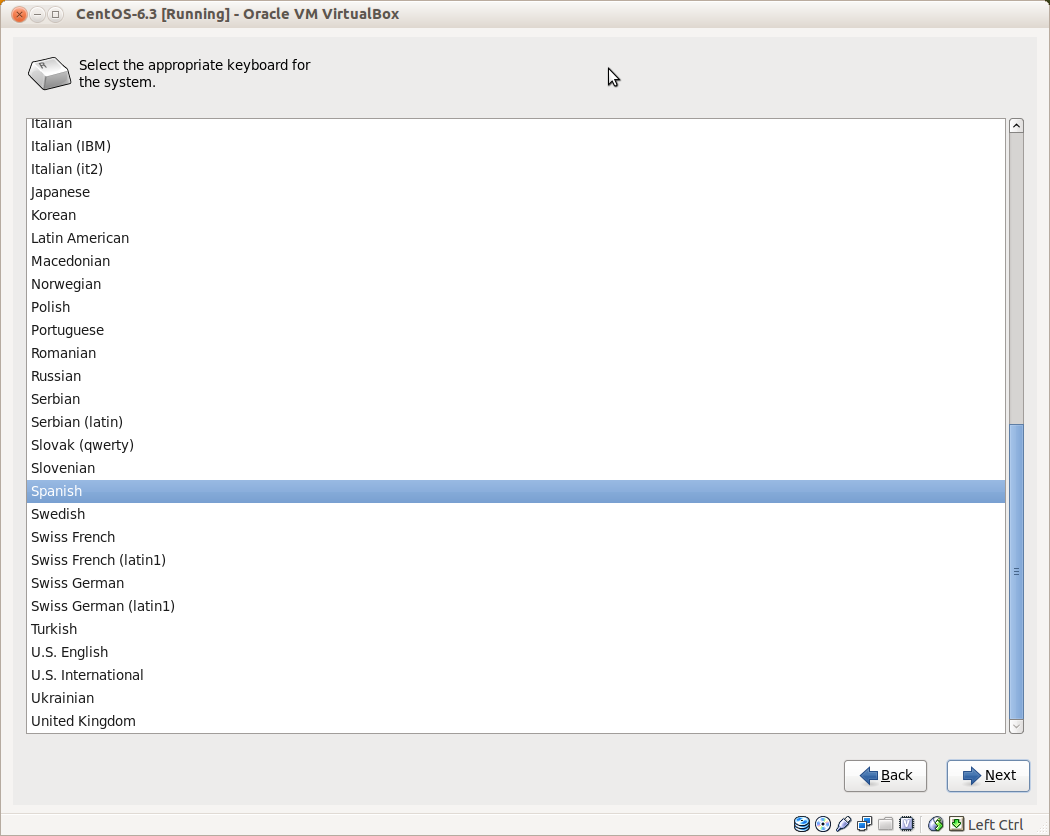
Select your keyboard layout.
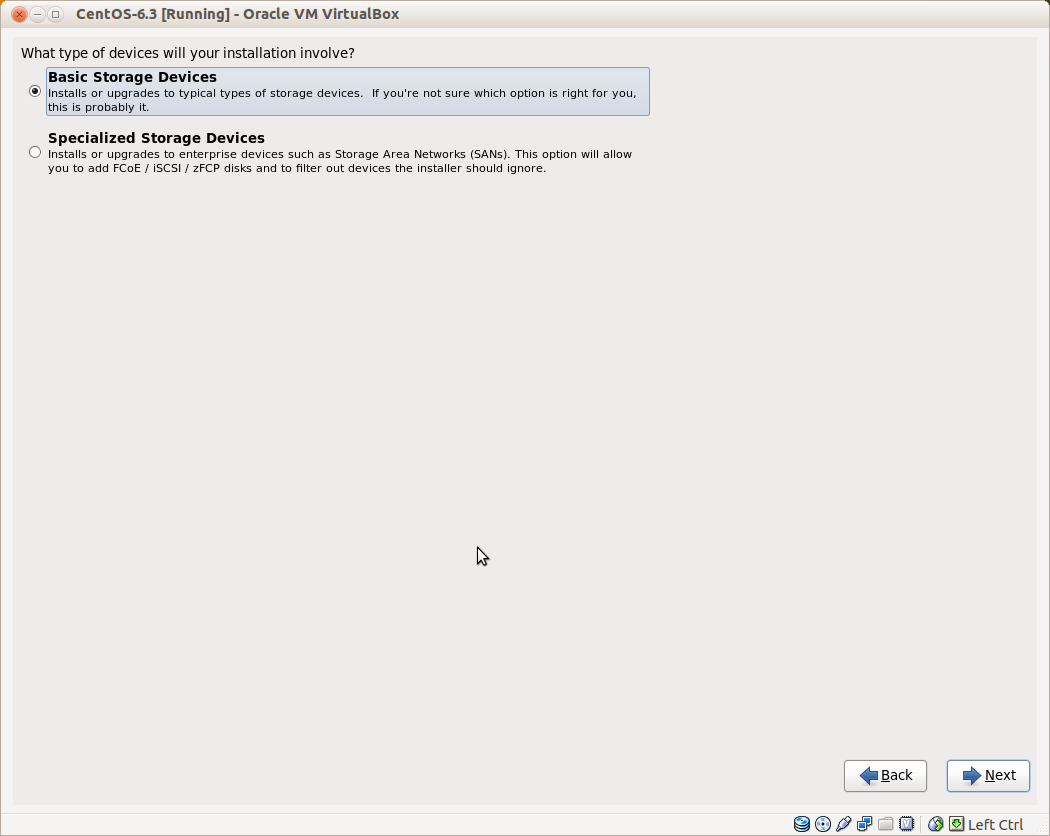
With this virtual machine I selected Basic Storage Devices, if you are using SANs then select Specialized Storage Devices here.
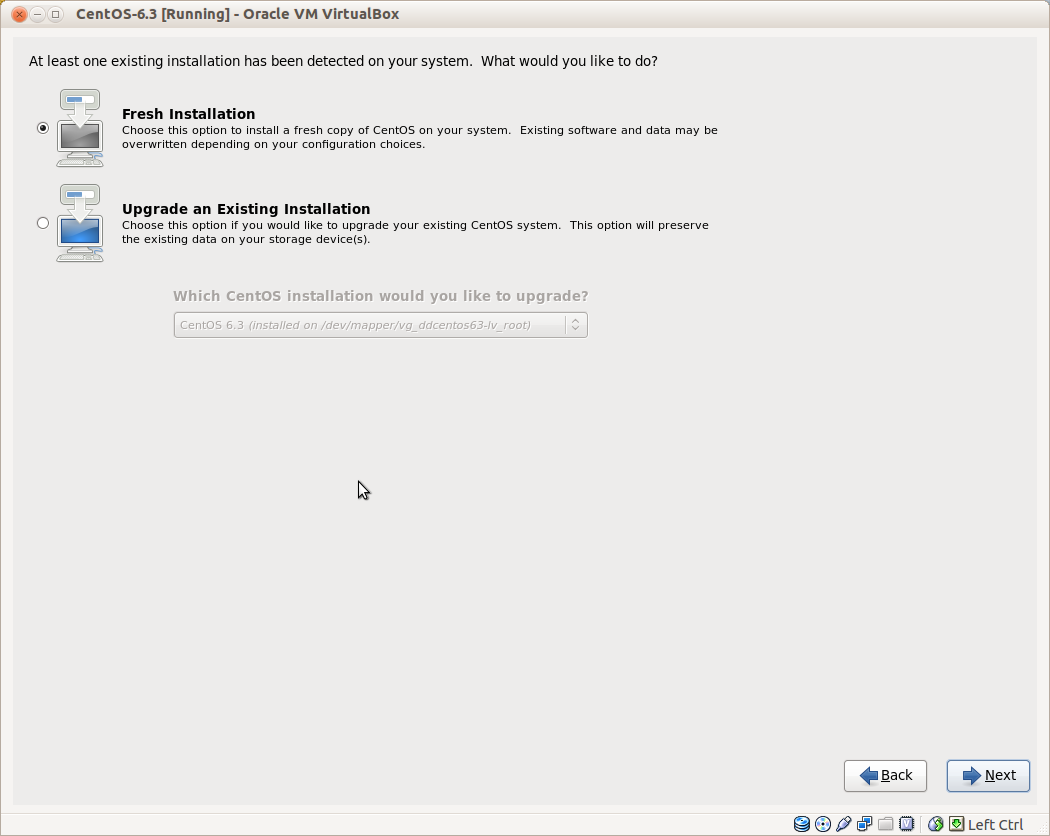
Let's do a fresh installation.
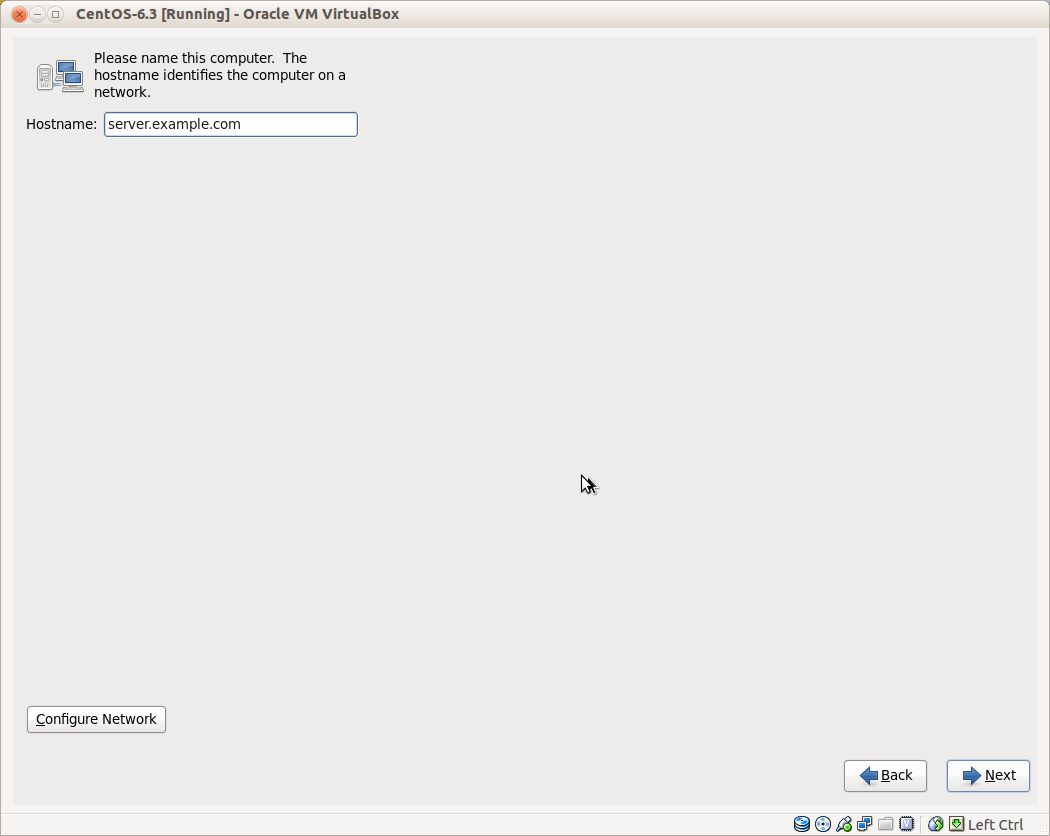
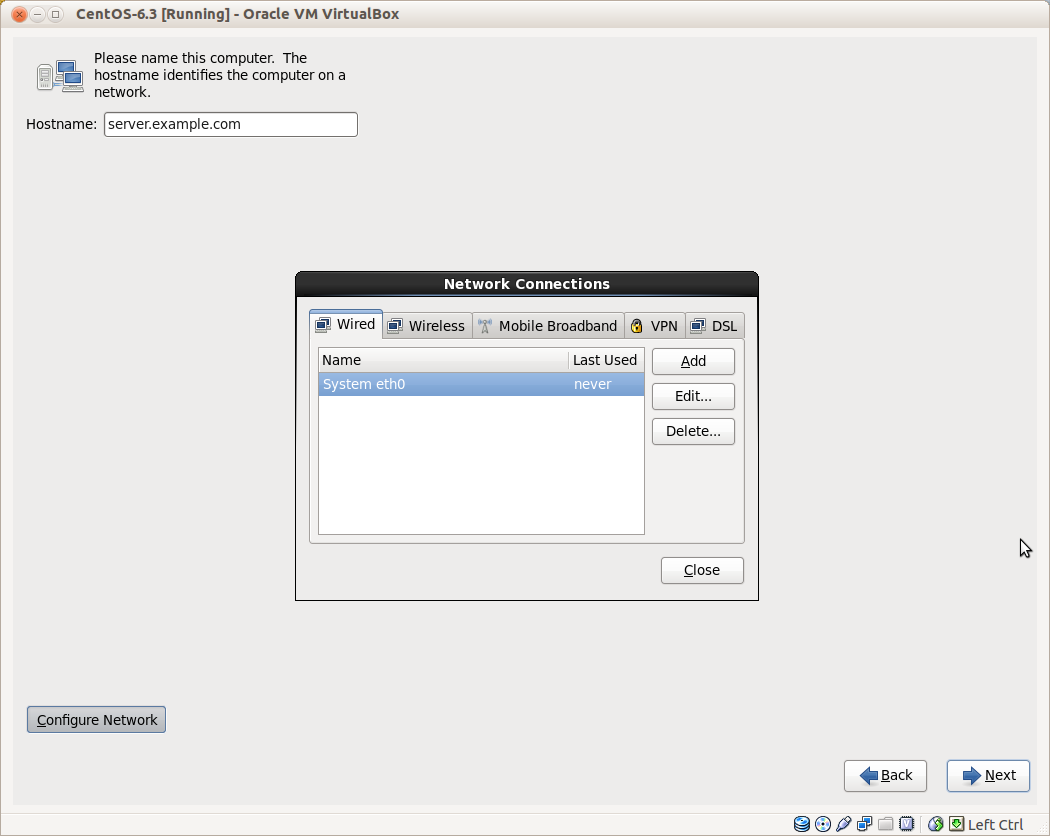
Enter the hostname of the server, then click on the Configure Network button to assign a static IP address.
In the Wired tab, select the network interface and click on Edit.
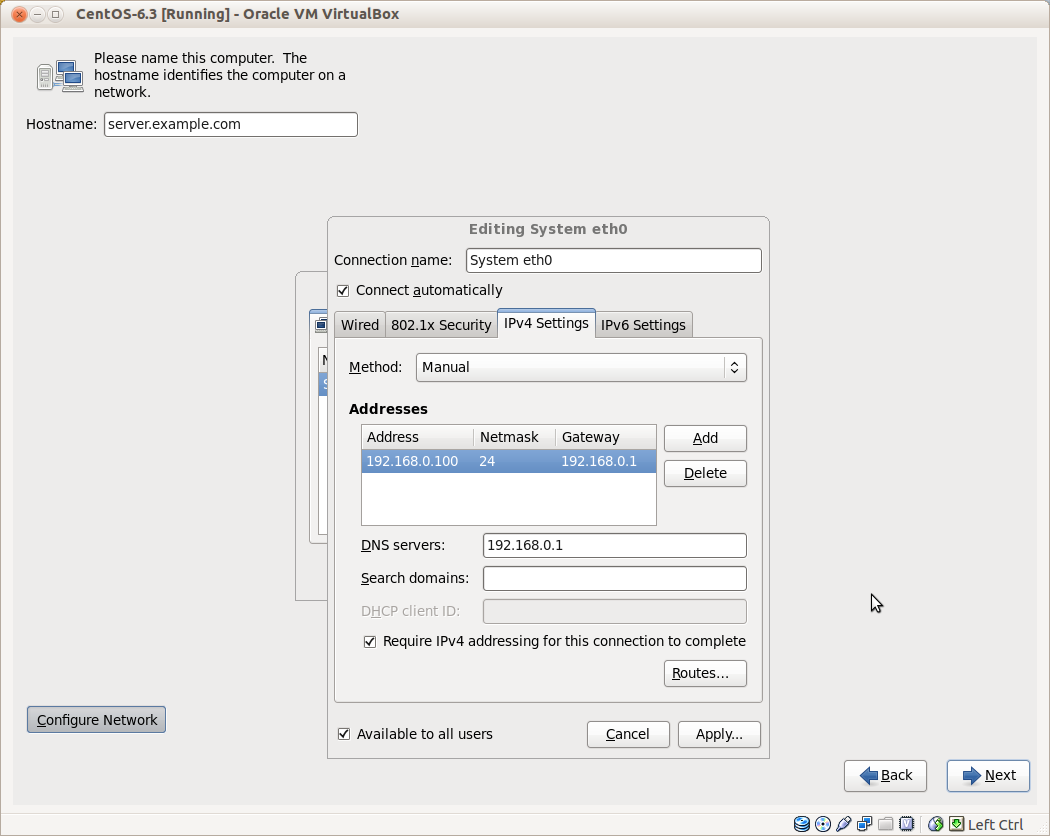
Mark the Connect automatically checkbox.
In the IPv4 Settings tab select Manual in the Method drop-down menu.
Then click on the Add button next to the Addresses area to set a static IP address.
Finally insert your DNS servers numbers separated by commas.
When you have finished with the network settings click on Apply, then Close and Next buttons.
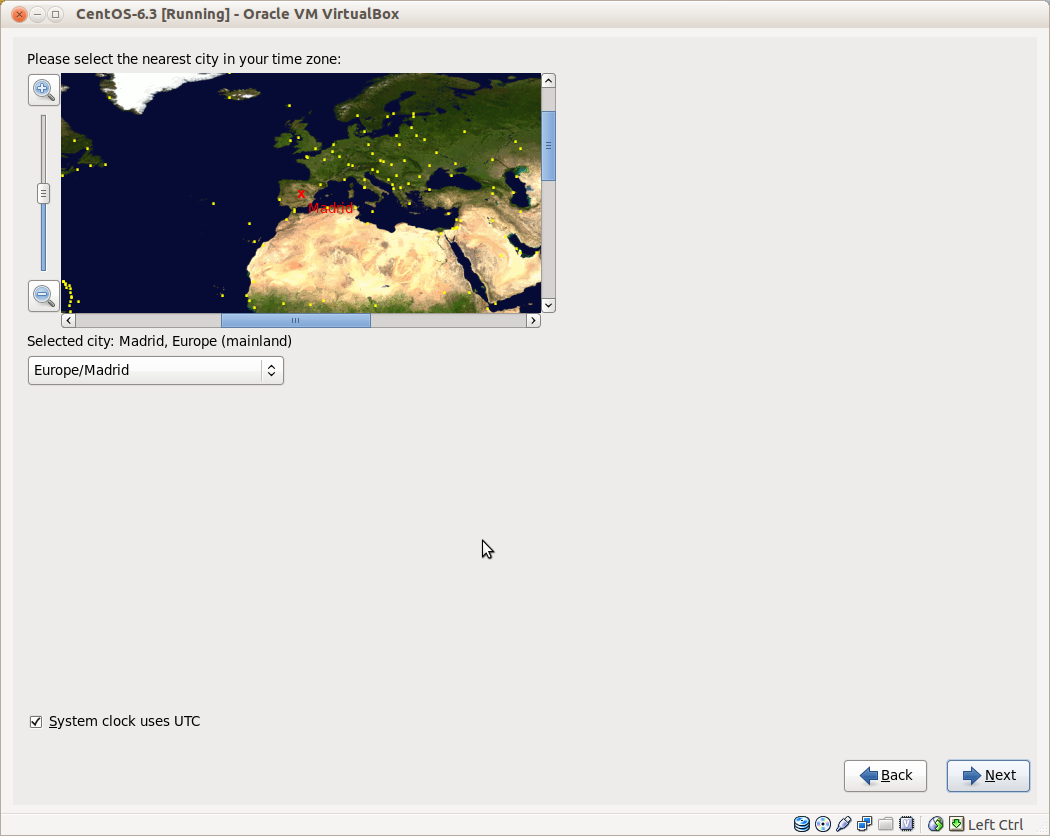
Choose your time zone.
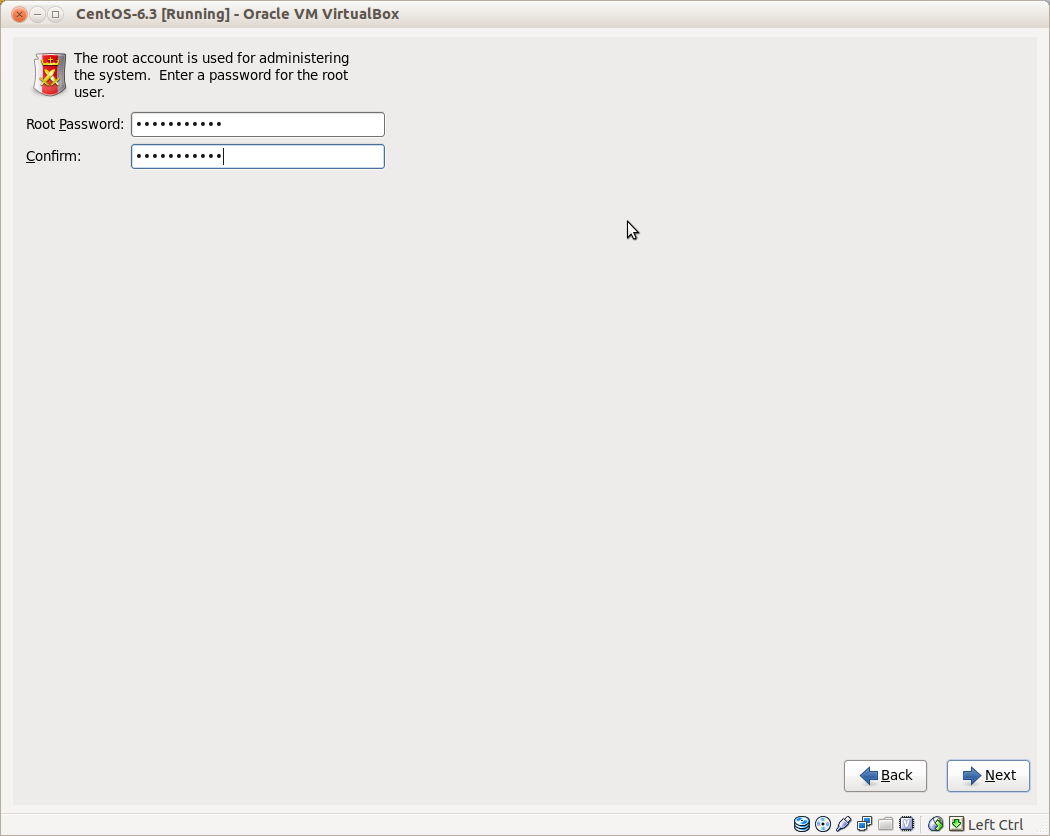
Enter a password for the root user.
Now it's time to do the hard drive partitioning.
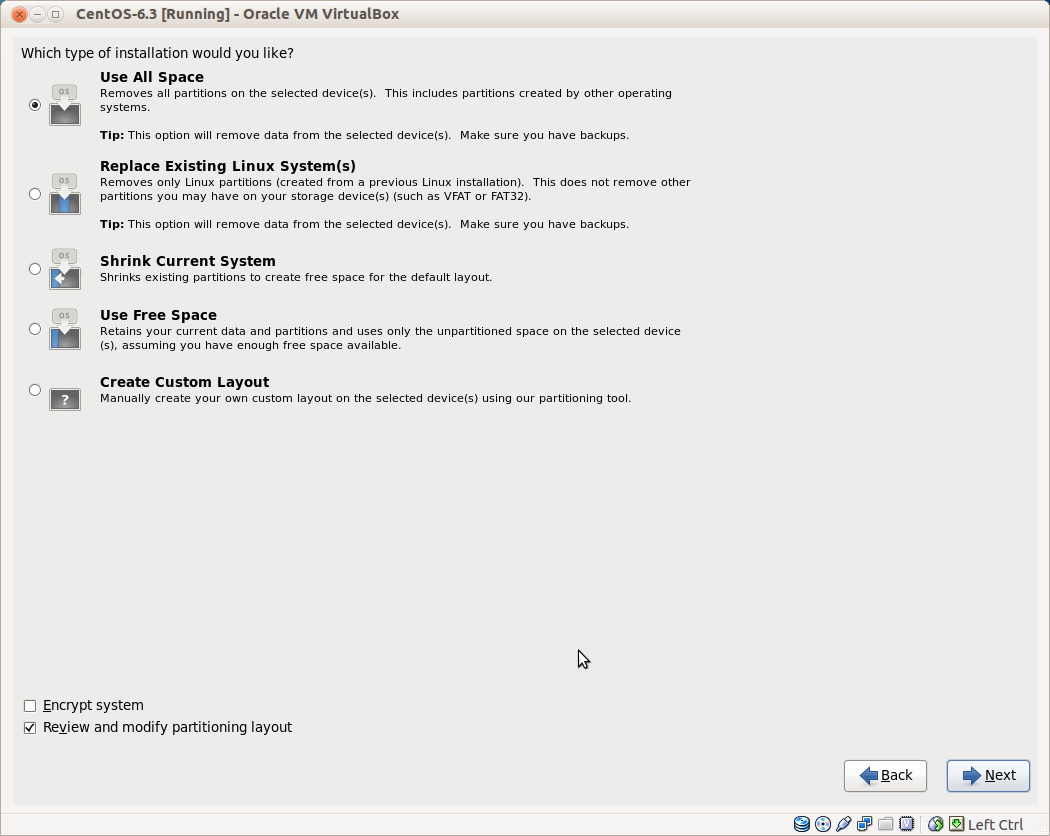
As this is an empty virtual machine I choose Use All Space for simplicity, but this not a good option if you have some other operating system installed on it, in that case you might want to use Create Custom Layout.
I like to see how the hard drive is partitioned so I checked Review and modify partitioning layou.
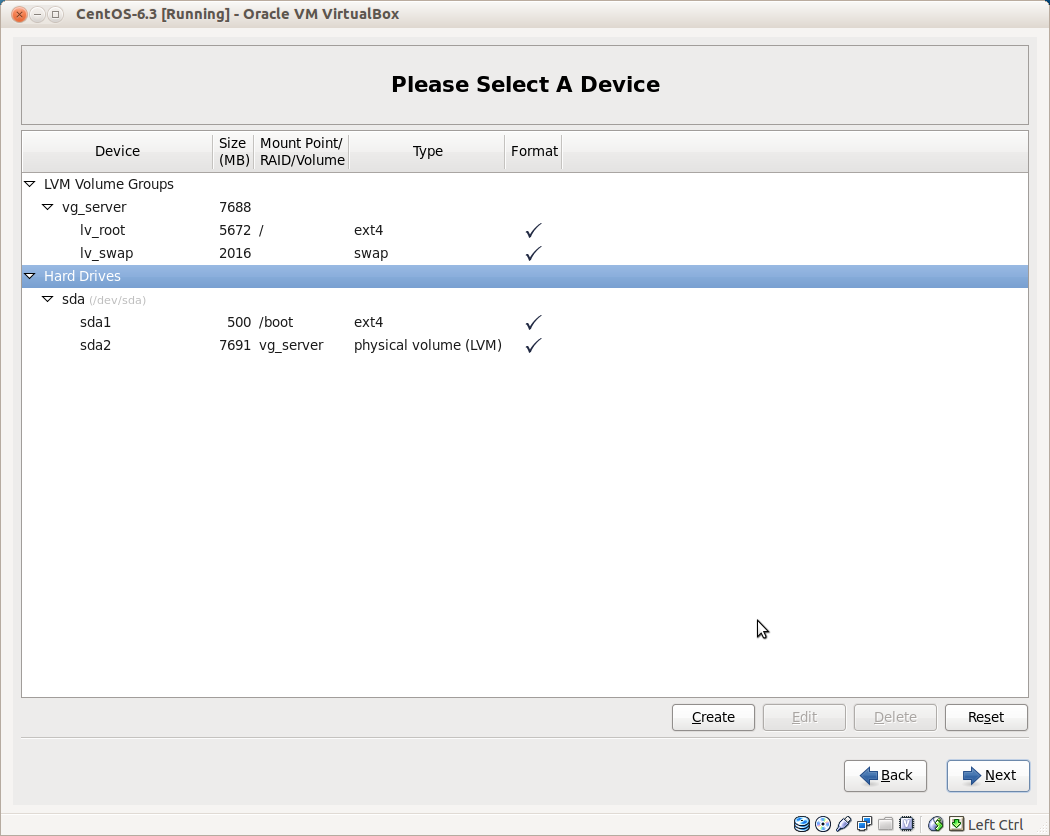
and this is how the installer partitioned the hard drive, as you can see it creates an LVM volume.
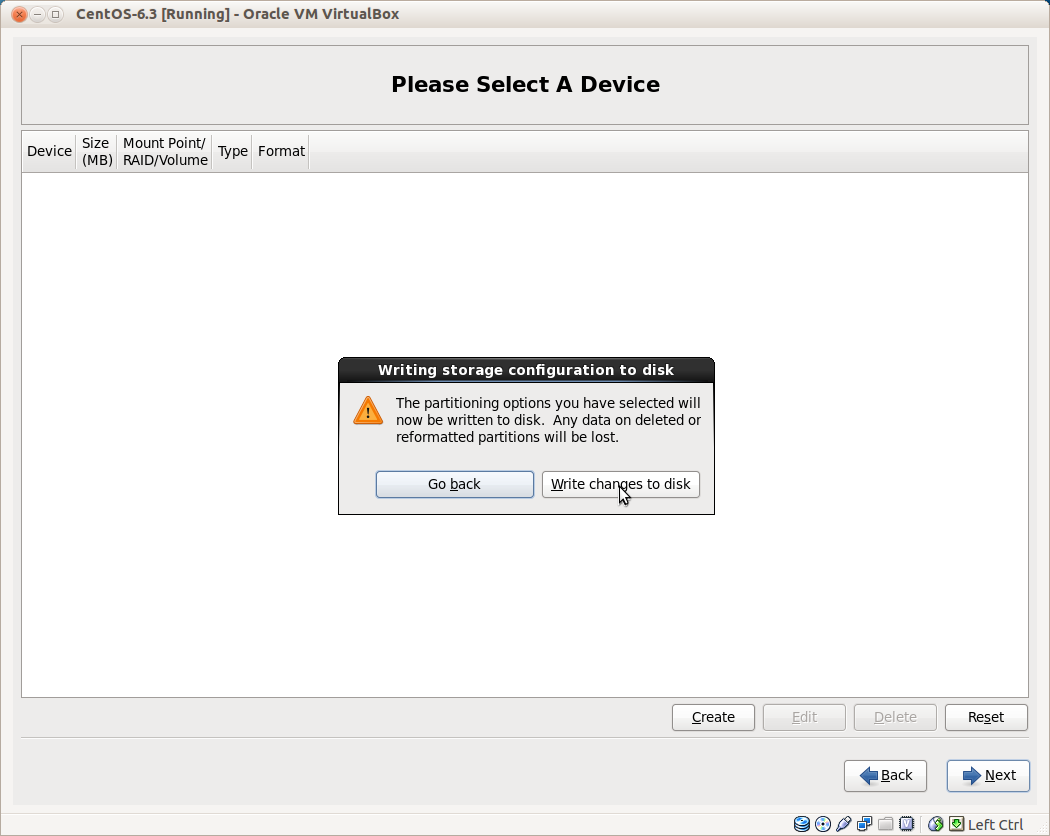
When you're done with the partitioning click on Write changes to disk
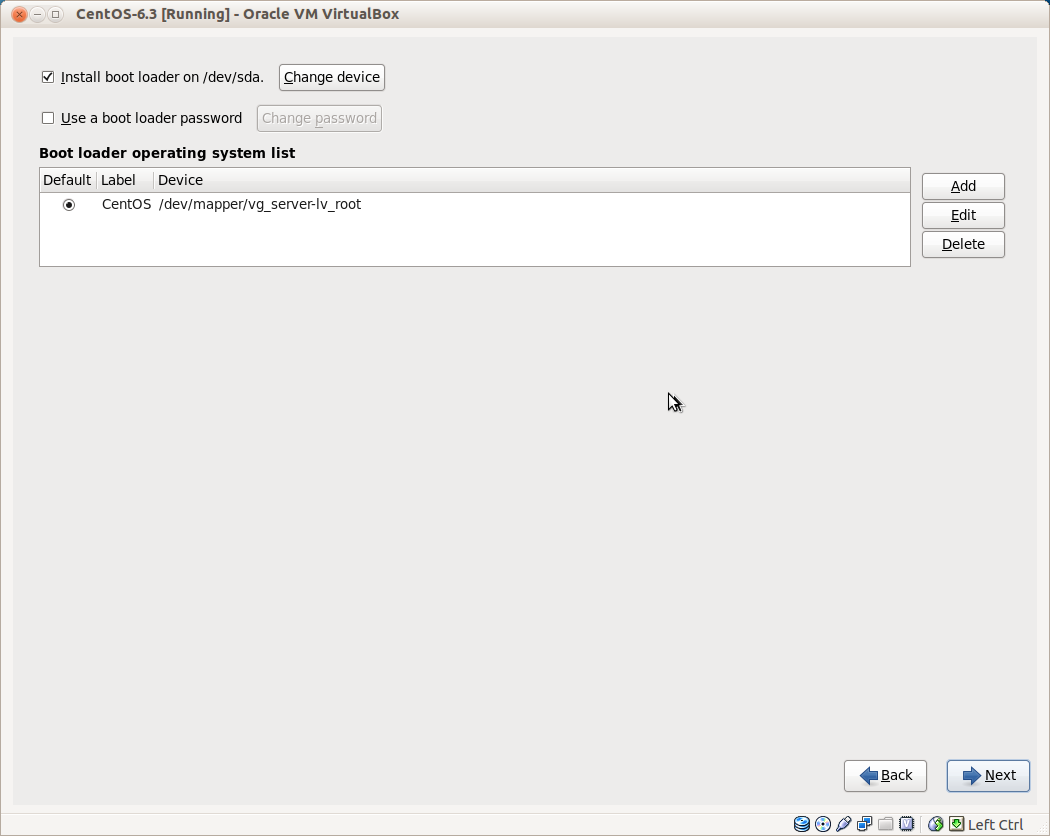
Select where to install the boot loader.
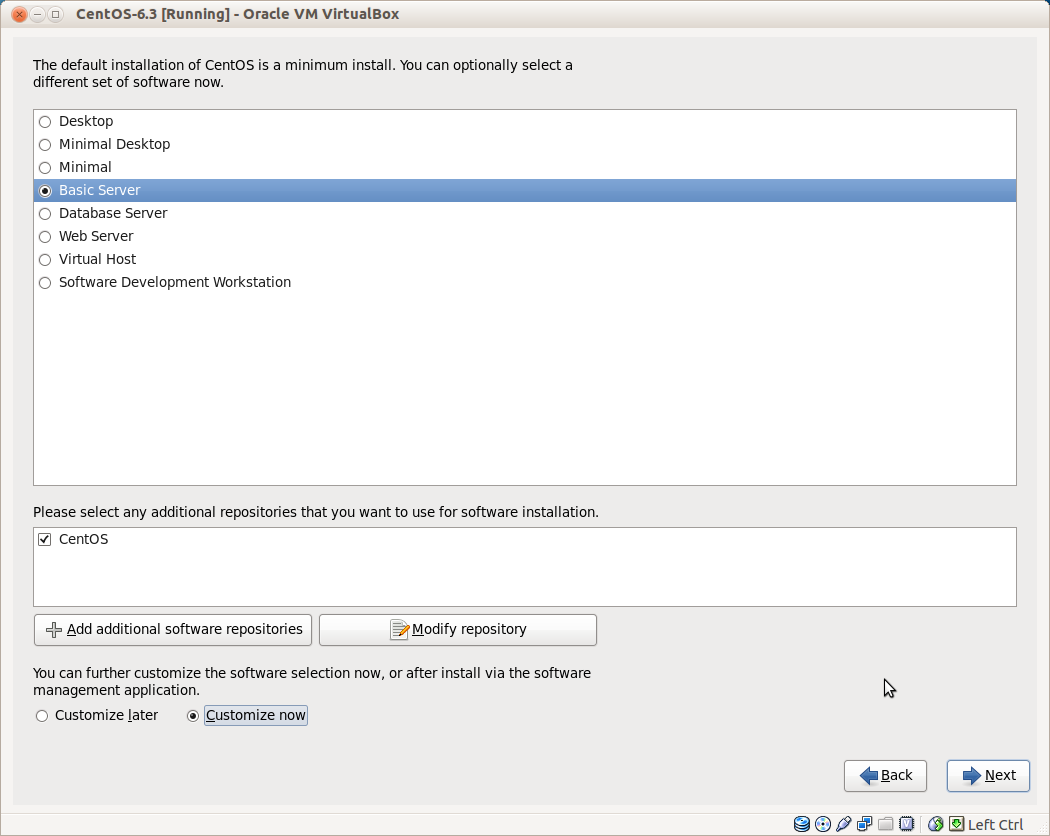
Now you can choose a set of software to be installed.
In my case I selected Basic Server, actually CentOS and Red Hat's description of software contained in each set is a little bit vague, here a couple of links that may help you to choose the best one for you:
https://access.redhat.com/knowledge/docs/en-US/Red_Hat_Enterprise_Linux/6/html-single/Installation_Guide/index.html#s1-pkgselection-x86- http://unix.stackexchange.com/questions/20379/centos-6-default-installation-options
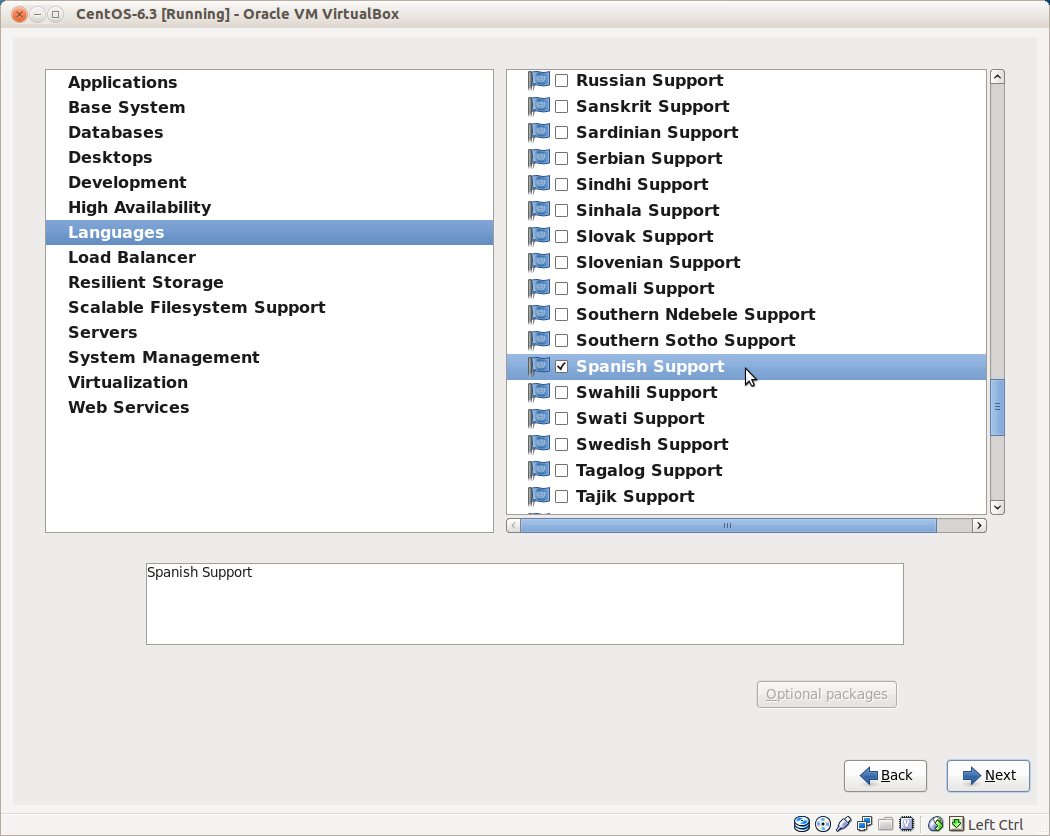
In the previous screen I also checked Customize now so I could add support for the Spanish language.
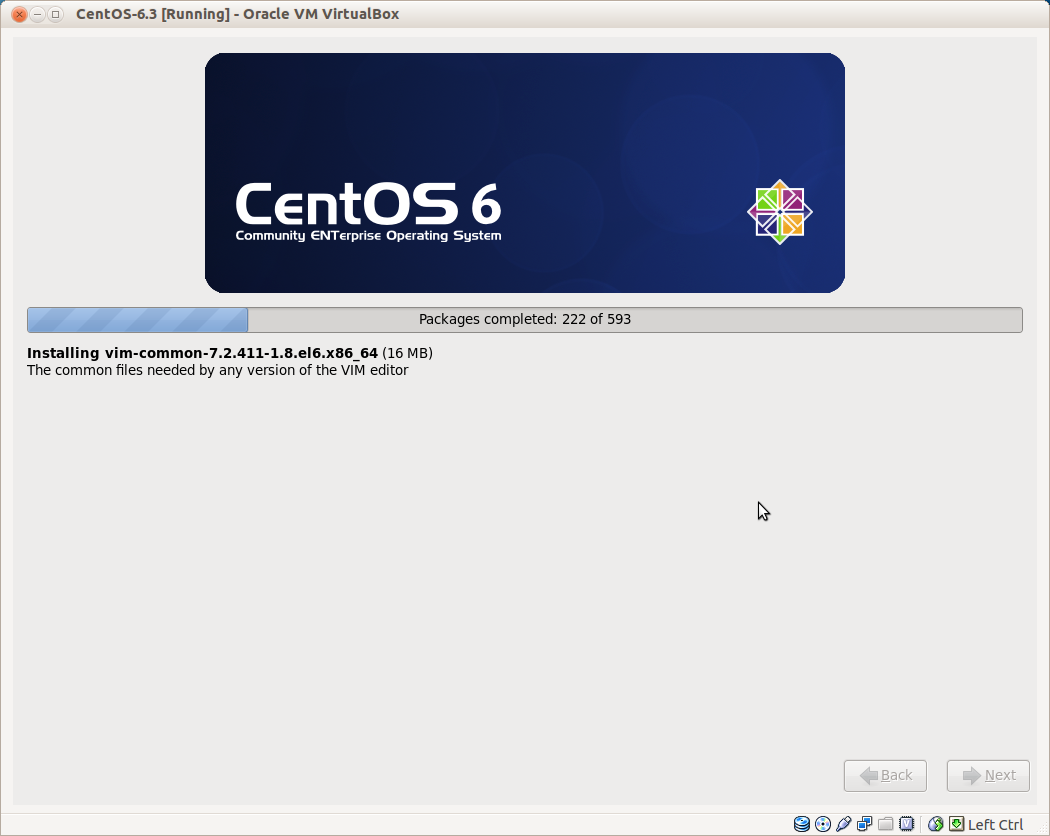
The installation of software packages start and it will takes few minutes.
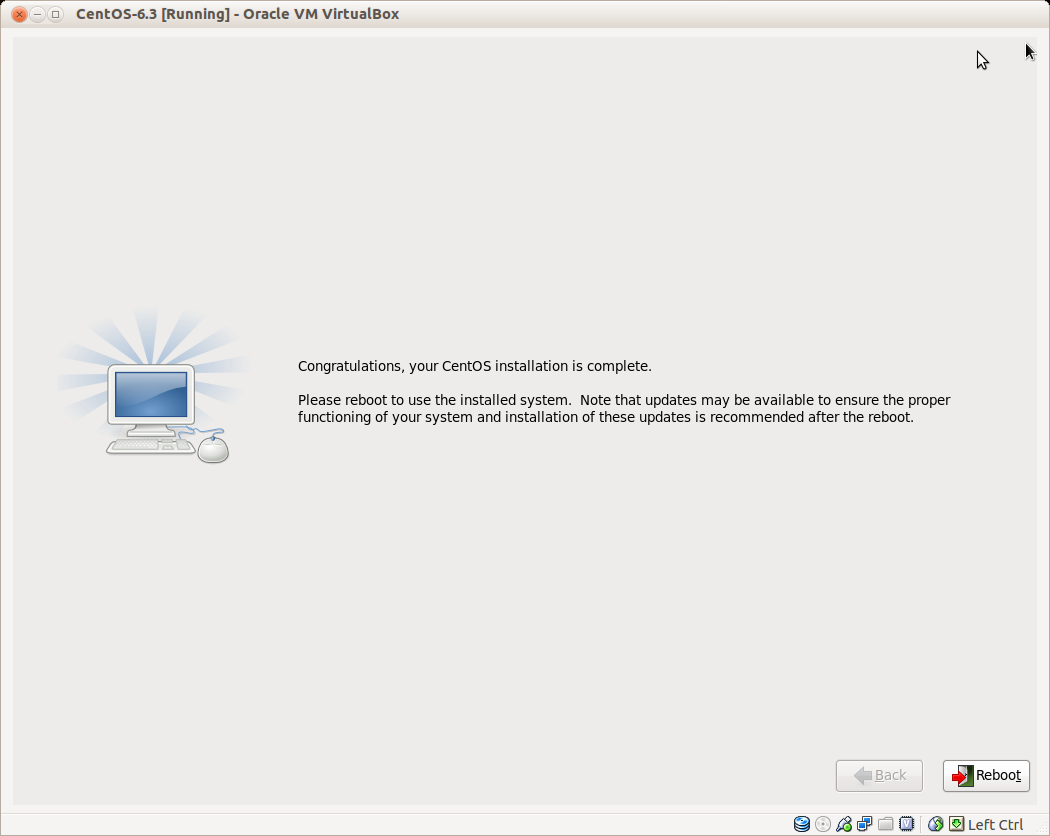
When the installation is complete, you can remove your DVD from the computer and reboot it.
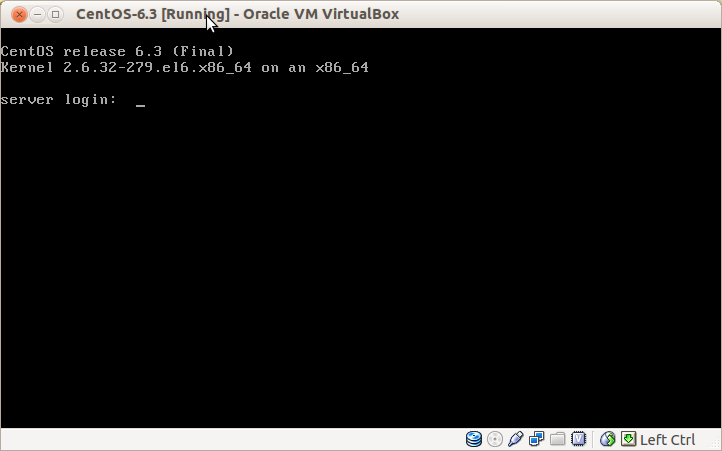
After the reboot, log in to the server as root user.
That's it! Now you have a basic CentOS 6.5 server installed.
Danilo
