Suse Linux Enterprise Server 11 SP2 Installation
Published 2012-10-29
This tutorial shows how to install a basic Suse Linux Enterprise Server 11 SP21. Requirements
To install a Suse Linux Enterprise Server 11 SP2, from now on I'll just call it SLES, you will need the following:
-
Download the two SLES 11 SP2 DVDs from a Suse website:
2. Preliminary Note
Before to start I just want to warn you that this is a practical guide without any warranty, it was written with the purpose to help system administrators, so I won't explain technical details neither the theory behind of them.
For the purpose of this tutorial I created a Virtual Machine with VirtualBox, this means that your hardware it might differs significantly, including the hard disk drives and the network cards.
In this tutorial I will use the hostname server.example.com
with the IP address 192.168.0.100 and the gateway 192.168.0.1, also
these settings might differ for you, so you have to replace them
where appropriate.
3. Install the Operating System
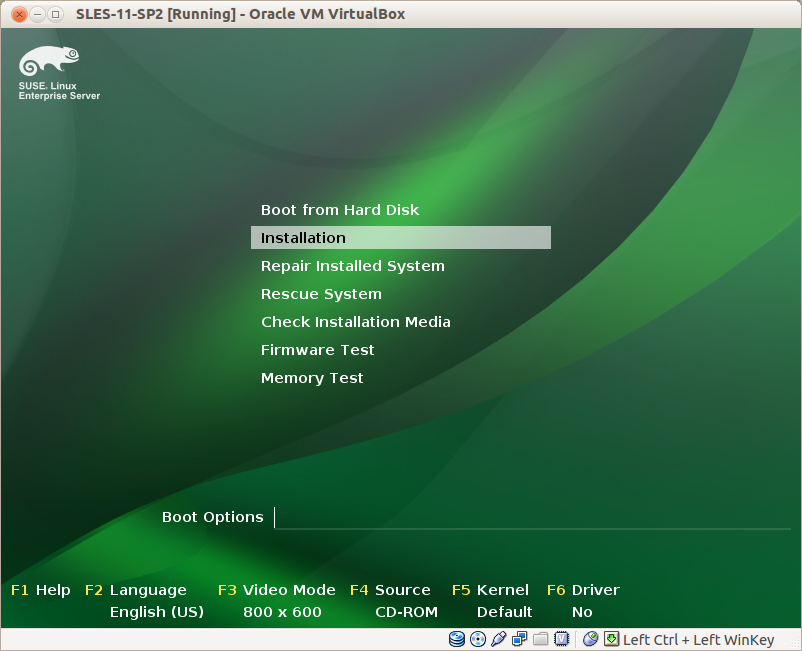
Boot from the first SLES 11 DVD (DVD 1) and select Installation
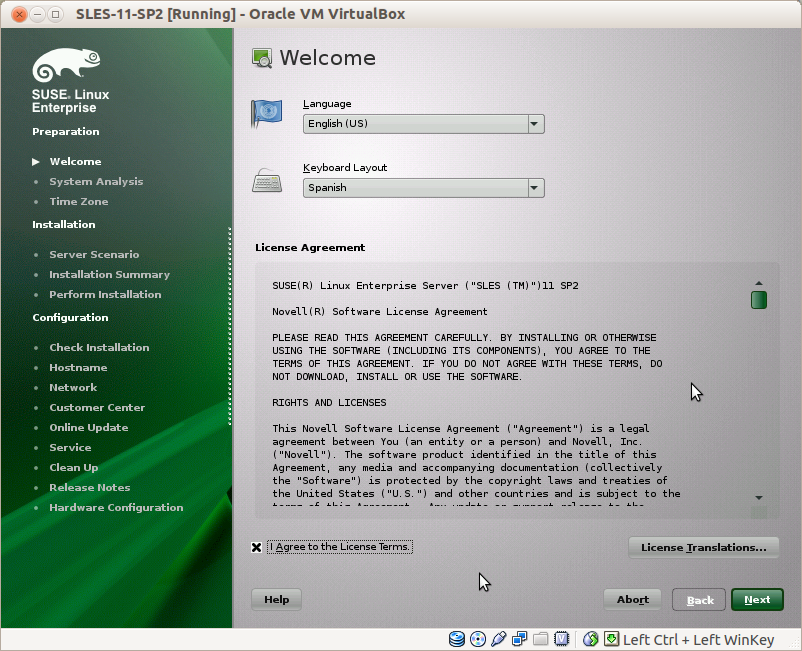
When the welcome screen of the SLES installer appears, choose your language and select your keyboard layout. Also you need to click "I Agree to the License Terms" checkbox.
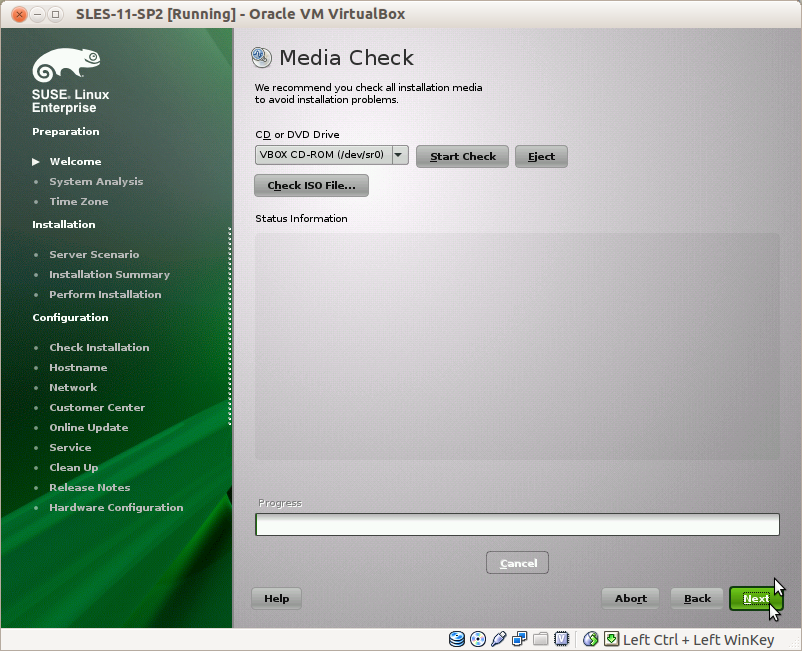
I usually skip the installation media test, if it’s broken it’ll let me know anyway.
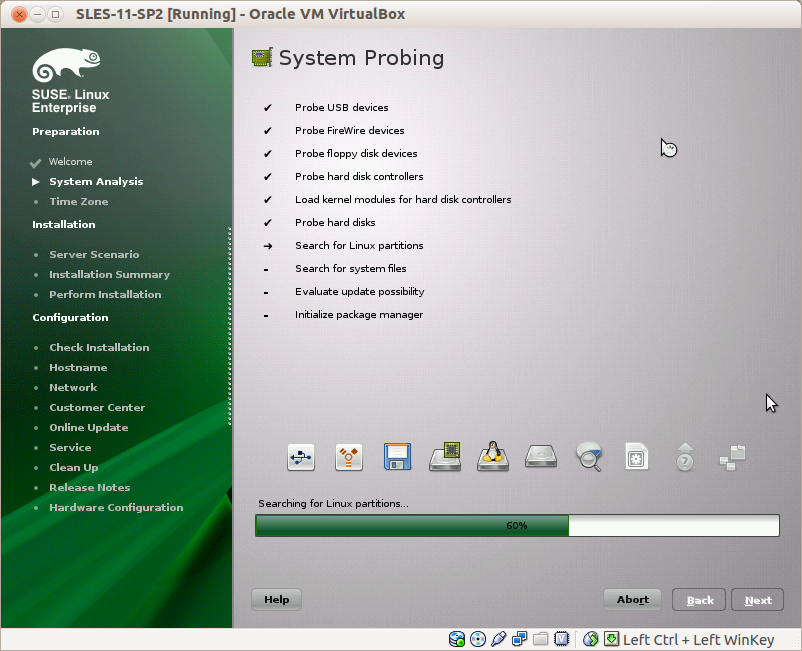
Then the installer will probe your system.
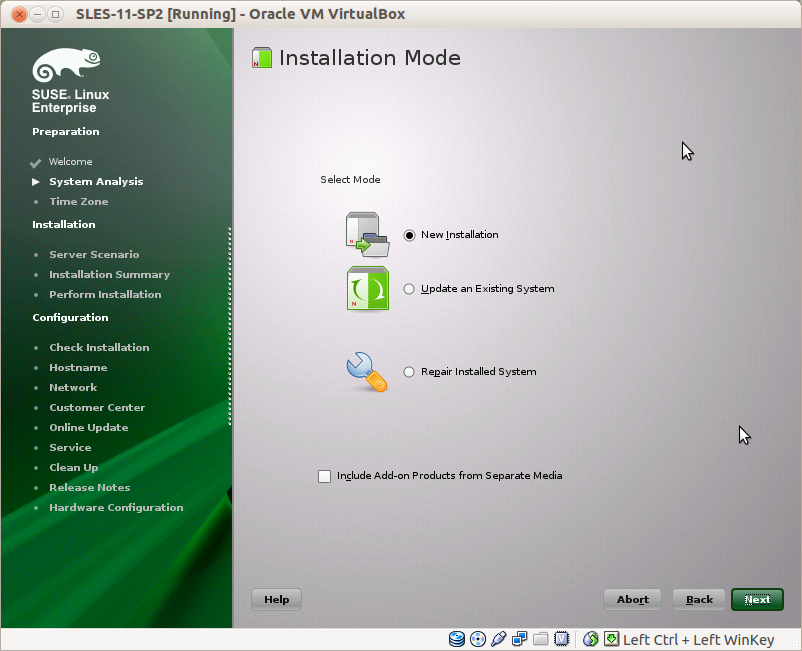
Let's do a new installation.
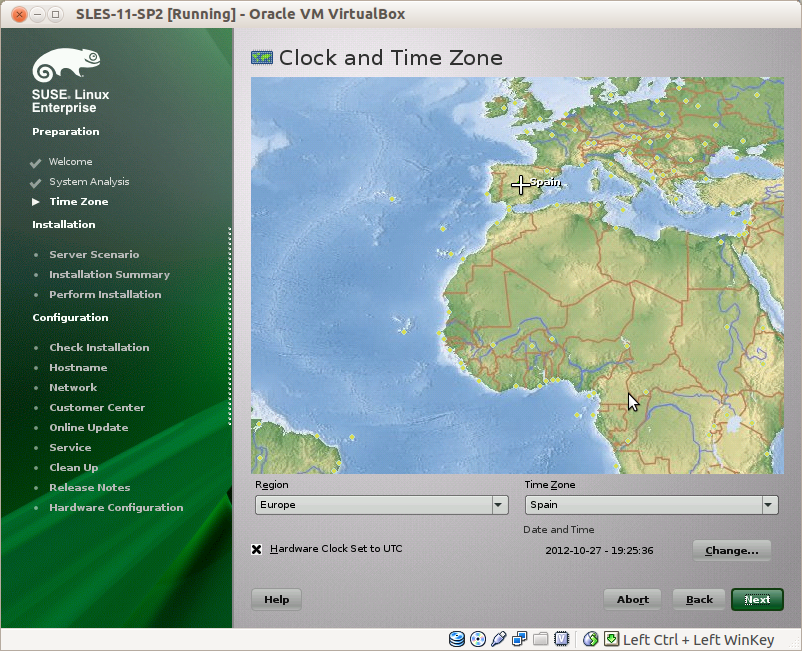
Choose your time zone.
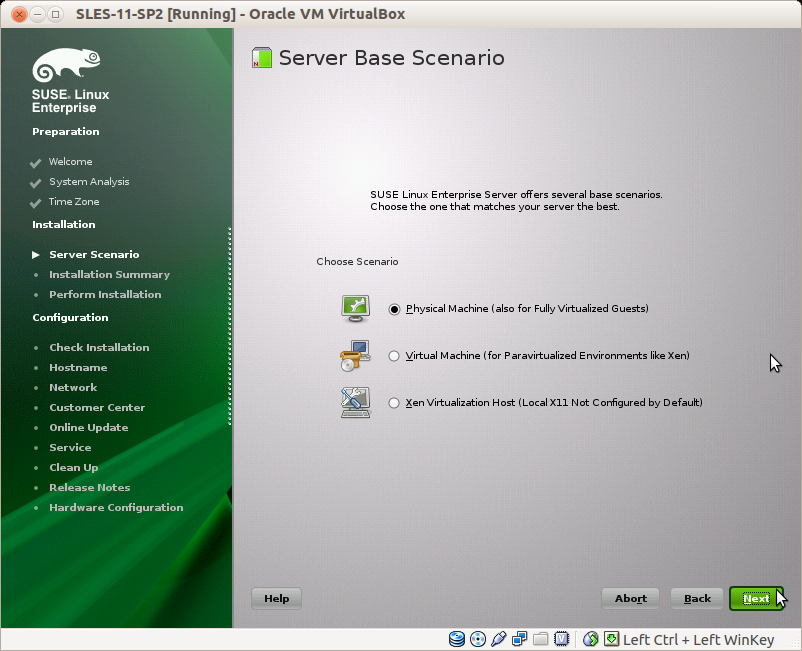
Choose the Server Base Scenario.
I choose "Physical Machine" which is also good for a guest virtual machine, like to one I created with VirtualBox. You can choose one of the other options in case you need a Xen Virtual Machine or Xen Virtualization Host.
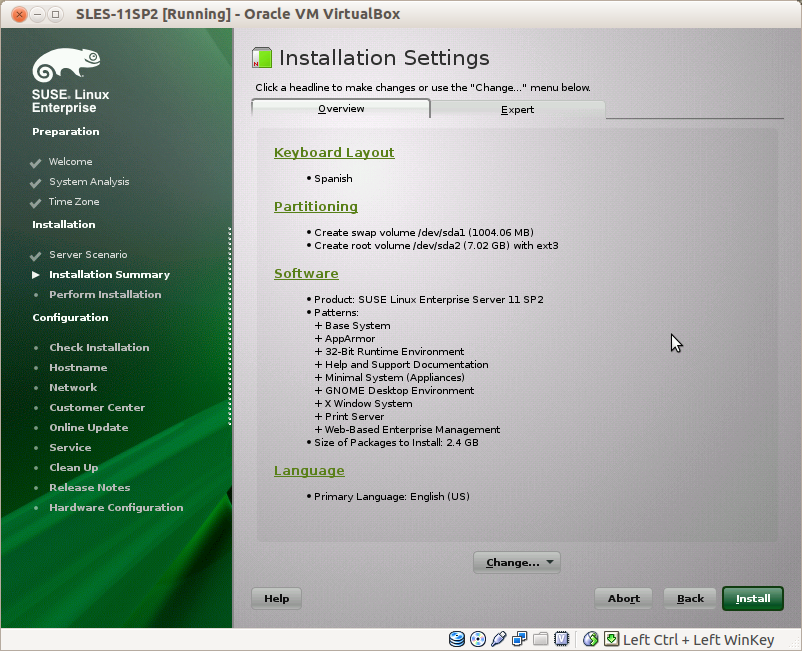
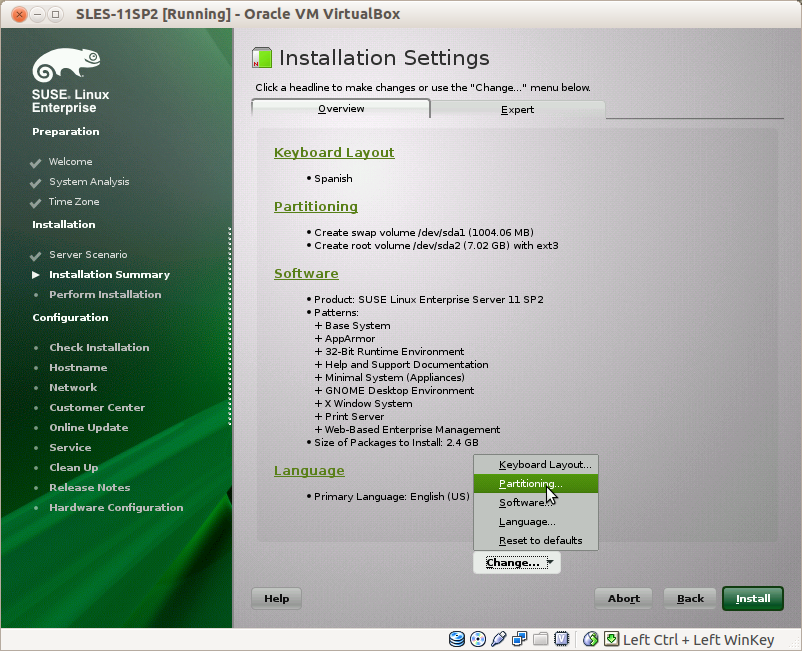
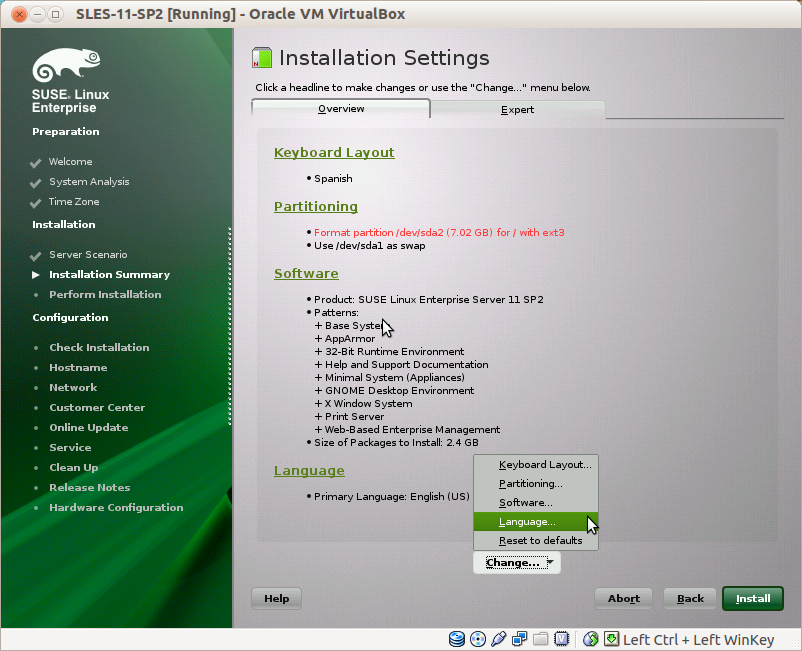
Now we can customize our installation settings.
Partitioning
Click on "Change" button then "Partitioning" to customize the way Suse is installed on your hard drive.
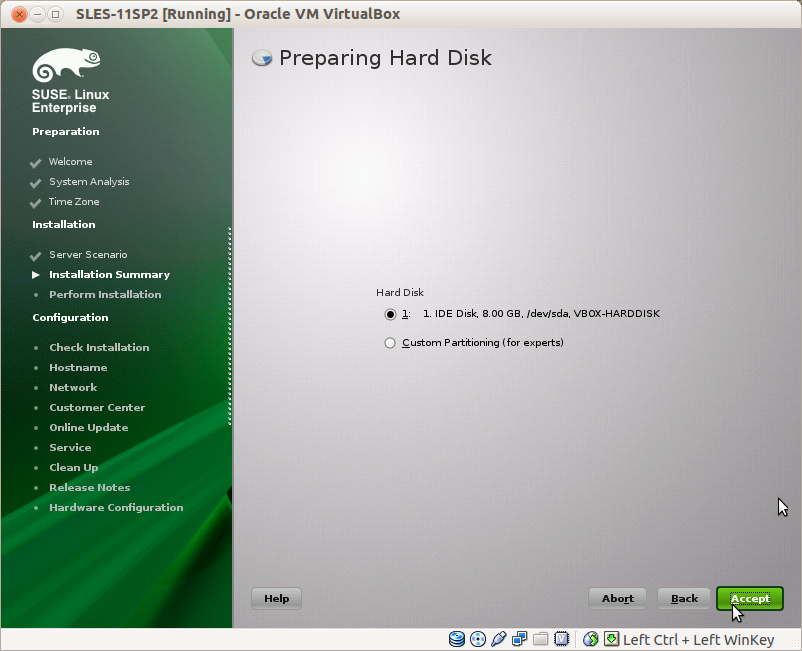
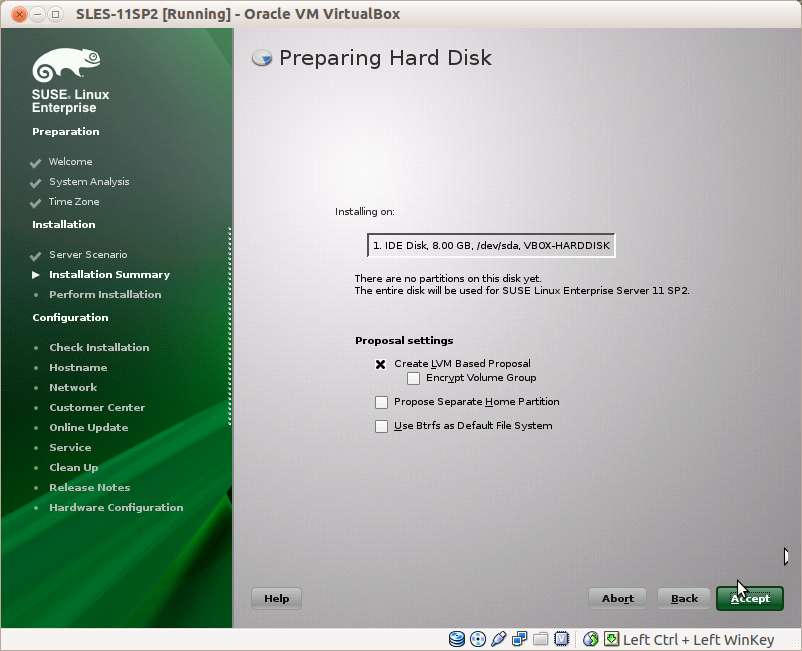
As this is an empty virtual machine I choose to use all space from the first hard drive, but this not a good option if you have some other operating system installed on it, in that case you might want choose Customize Partitioning.
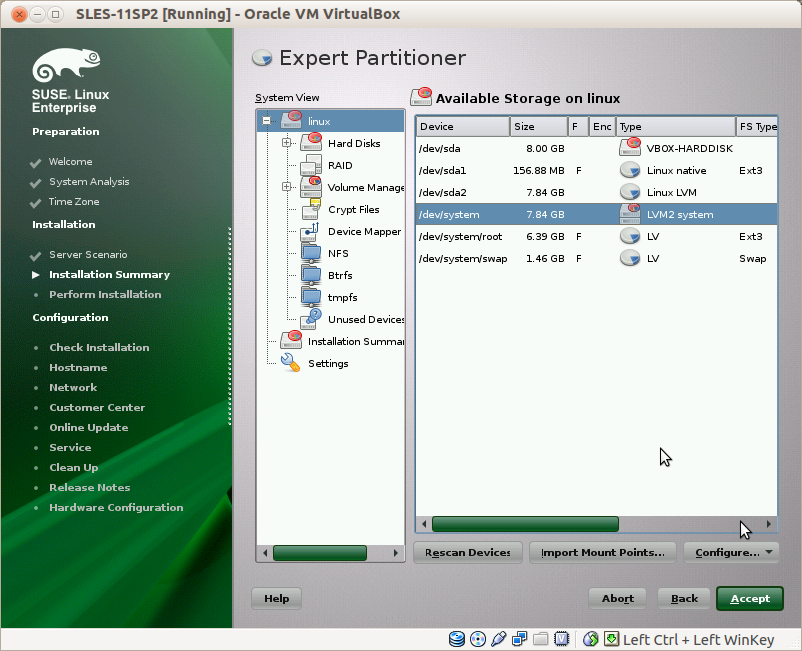
and this is how the installer partitioned the hard drive, as you can see I also choose to create an LVM volume.
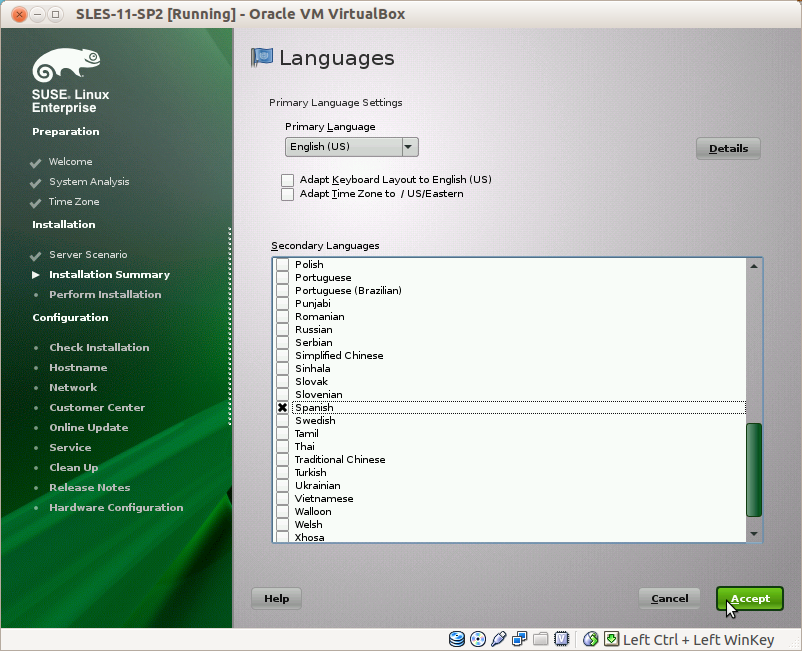
Languages
Add your additional languages, in my case I need to add support for Spanish.
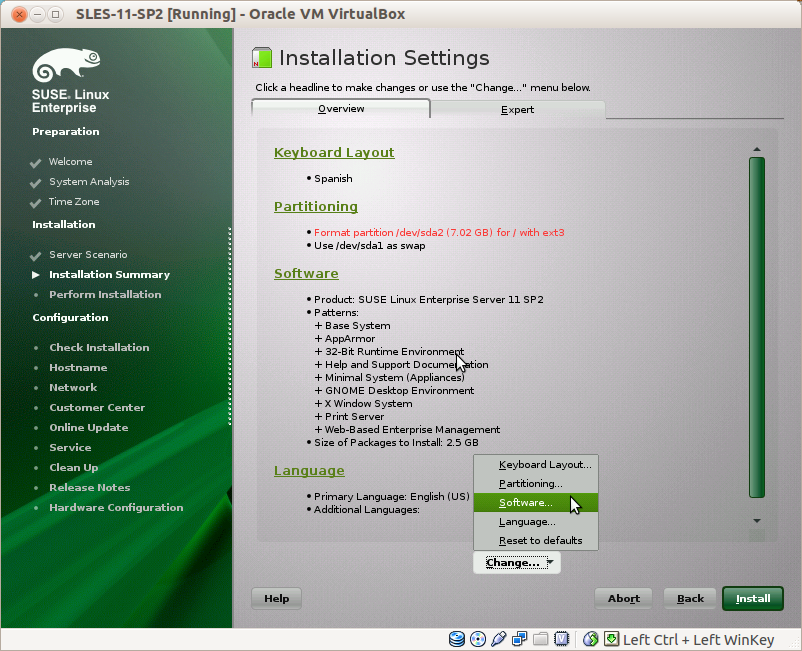
Software Selection
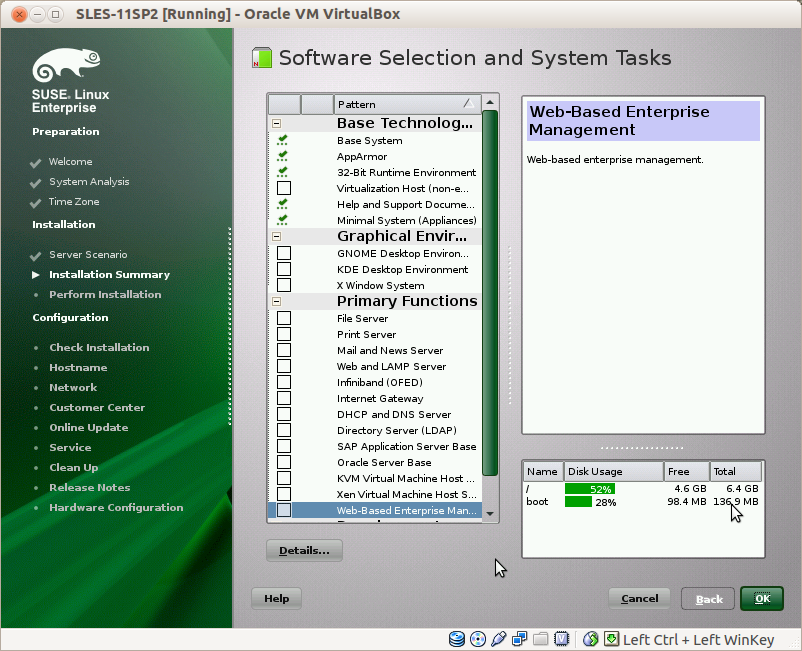
Now you can choose a set of software to be installed.
I'd like to have a basic server without any graphical desktop environment (GUI) installed.
I will connect to this machine only through SSH, so I don't see the point to install a GUI if I'm not going to use it.
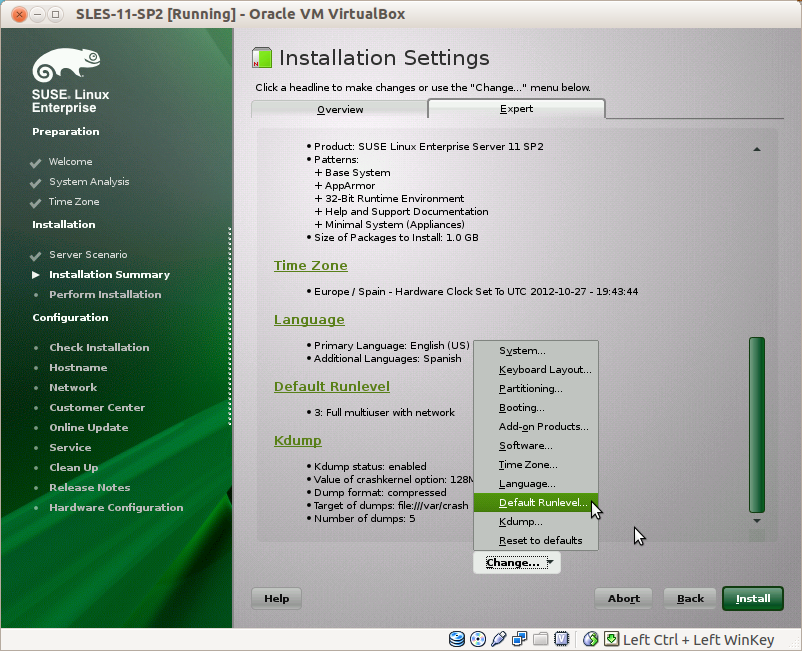
Expert Settings
You can tweak your installation even further by clicking on the Expert tab.
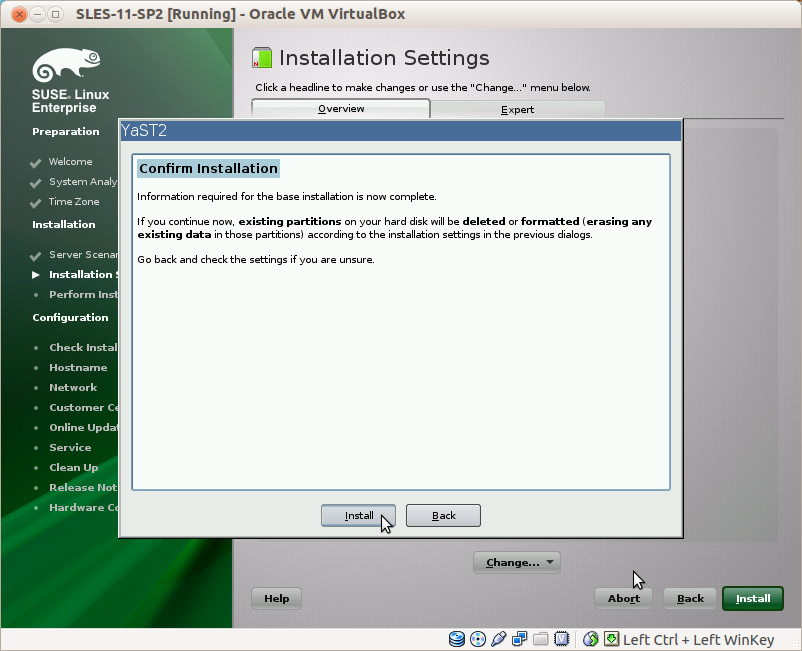
When you have finished, click on the Install button then confirm the installation.
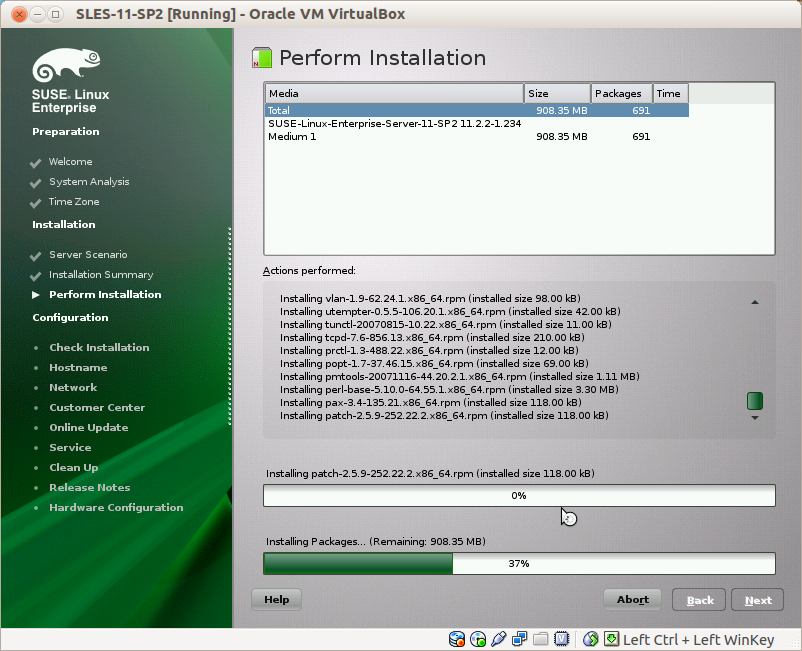
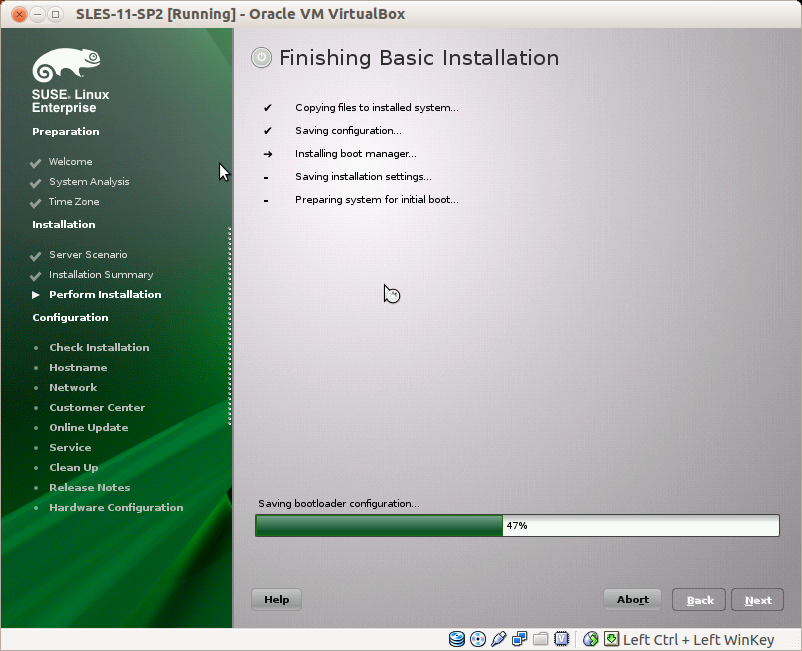
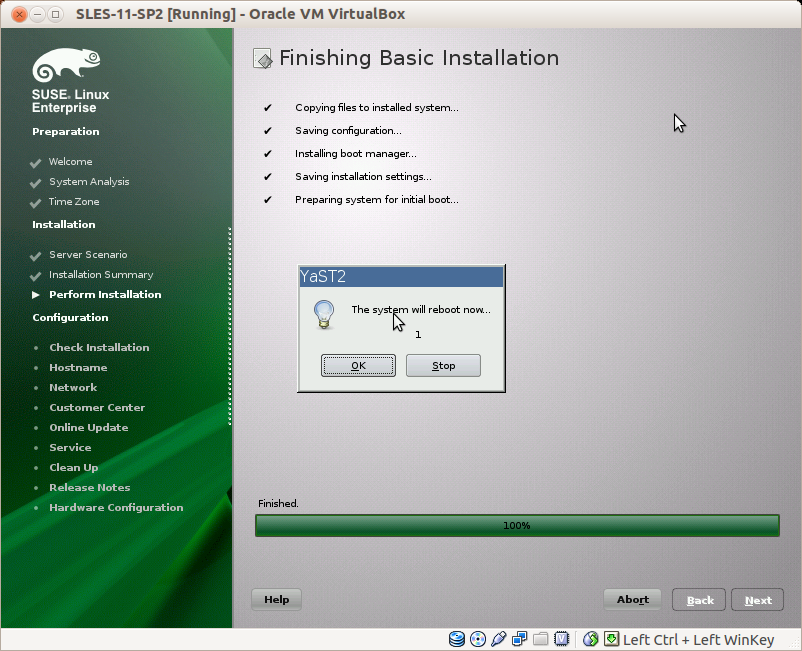
The installation of software packages start and it will takes few minutes.
When the installation is complete remove your DVD from the computer and the system will reboot.
4. Configuring the Operating System
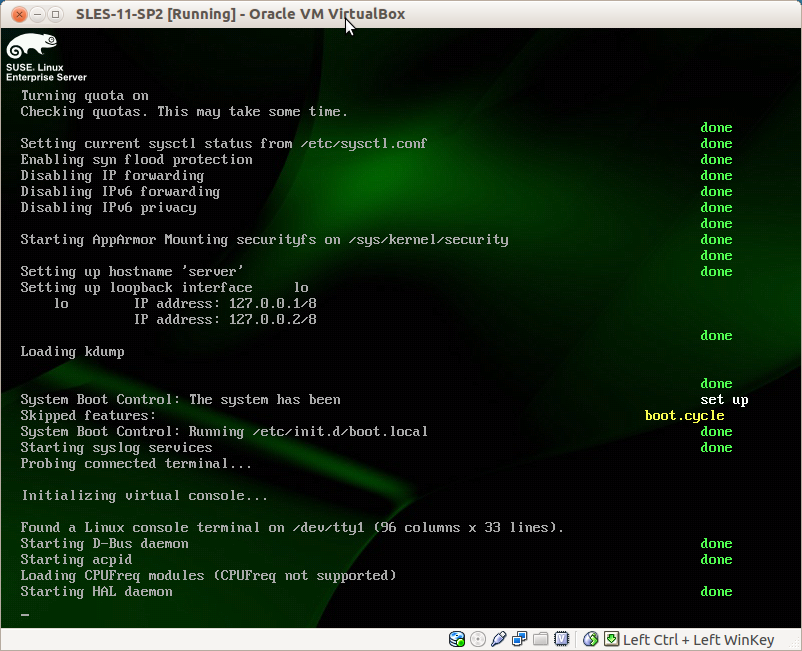
At the first boot, YaST2 is automatically launched and we can now configure the system.
root Password
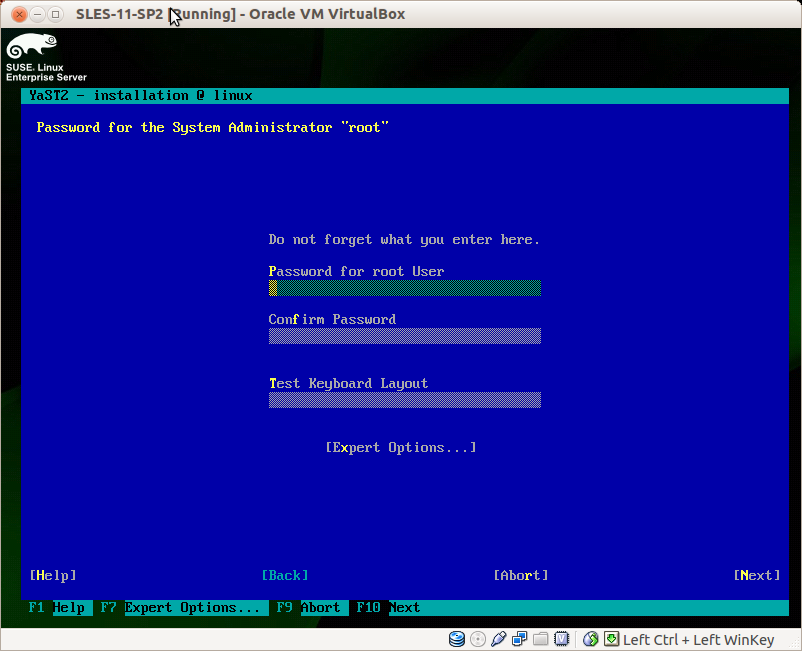
In the first YaST2 screen you must enter a password for the
root user.
As we didn't install any GUI, YaST2 will be execute within a text-based interface and if you're not used to the old-school style then you may find difficult to navigate it. Actually it's quite easy, you just need to use the TAB key, when you get the Next button press ENTER to select it.
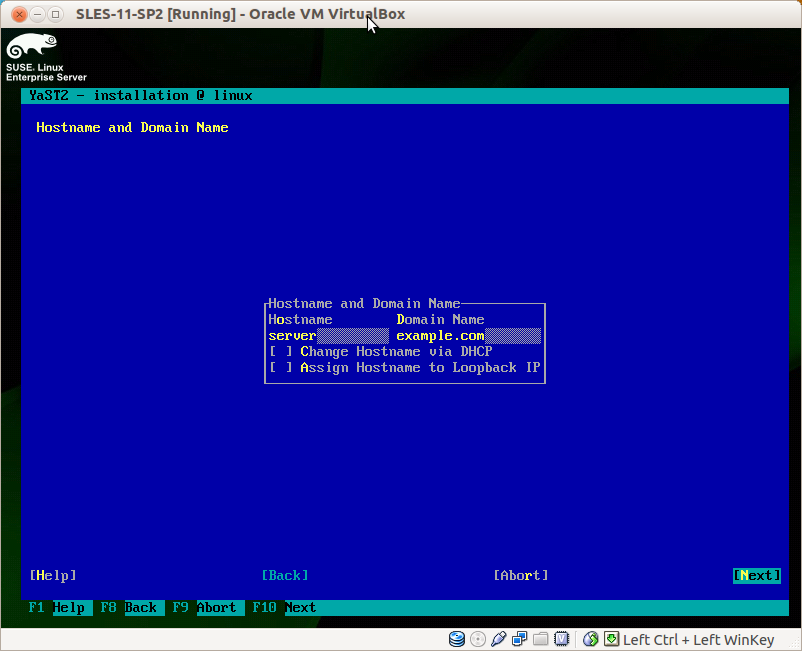
Hostname
Now enter the hostname and the domain name of the server.
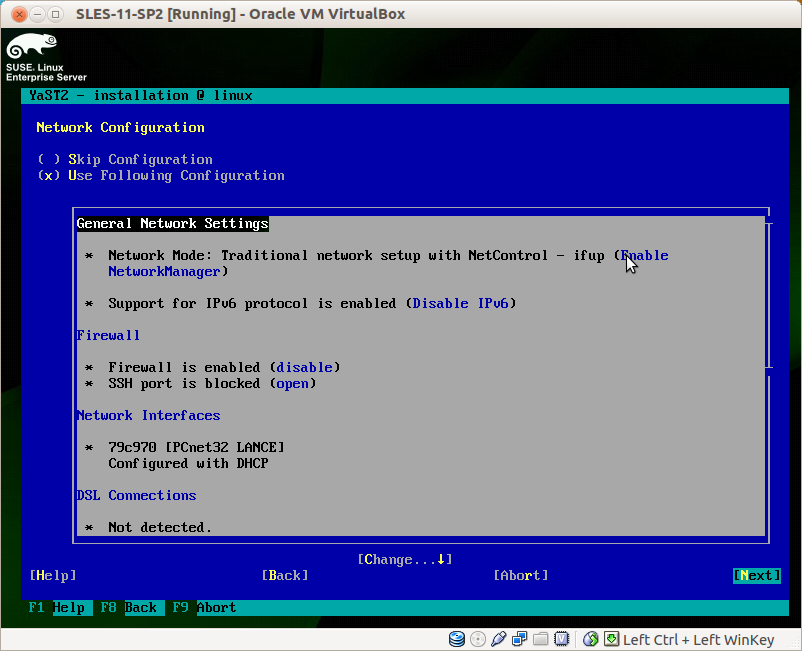
Network Configuration
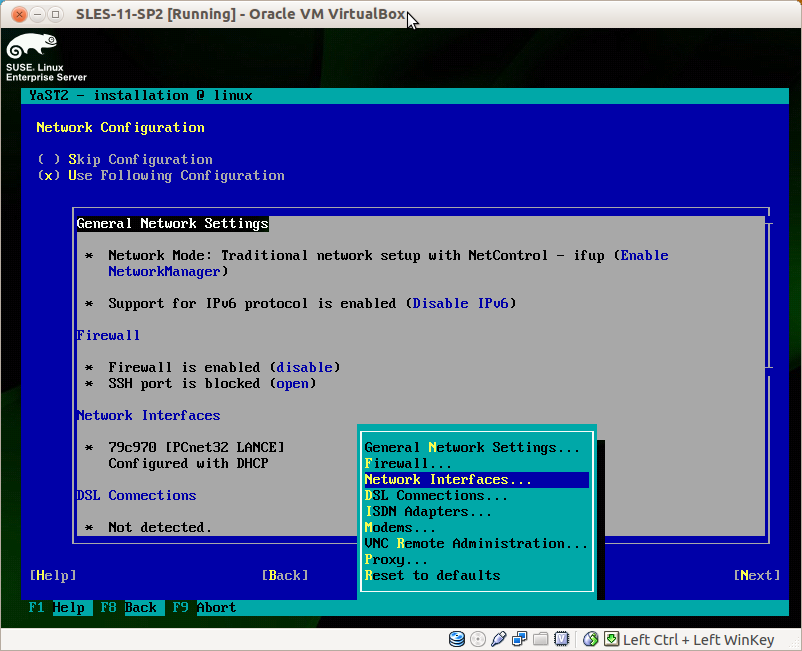
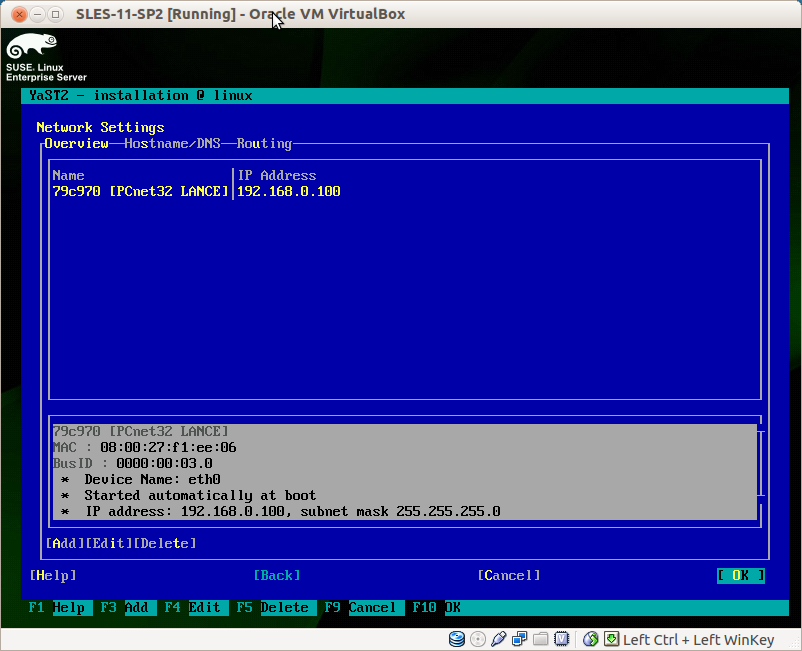
Now it's time to configure the network, use the TAB key to select Change then choose Network Interfaces.
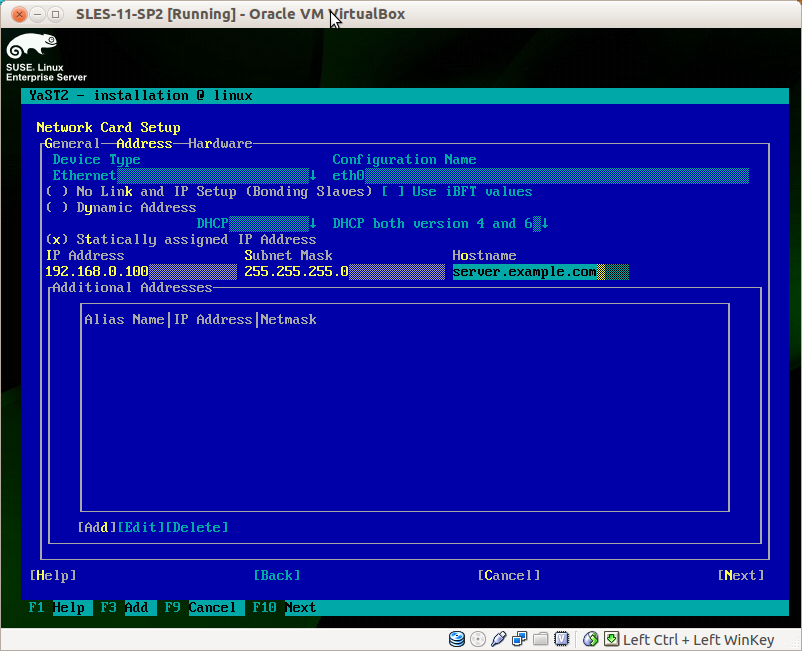
We assign a static IP address. You have to select the Statically assigned IP Address using the SPACE BAR, then enter your IP address. Finally select Next.
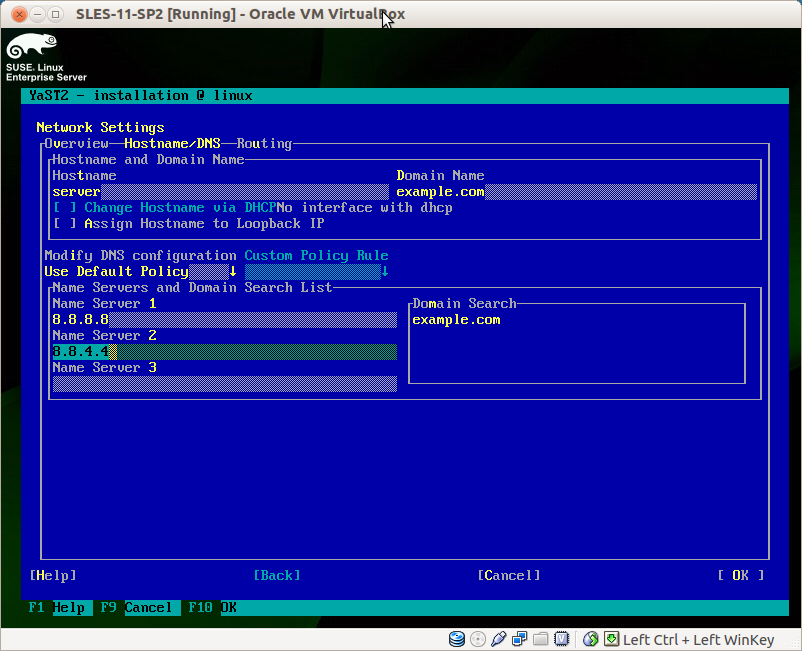
Now use the TAB and the arrows to select Hostname/DNS tab.
In this screen you can enter your DNS servers number, in the example below I used to Google Public DNS servers numbers.
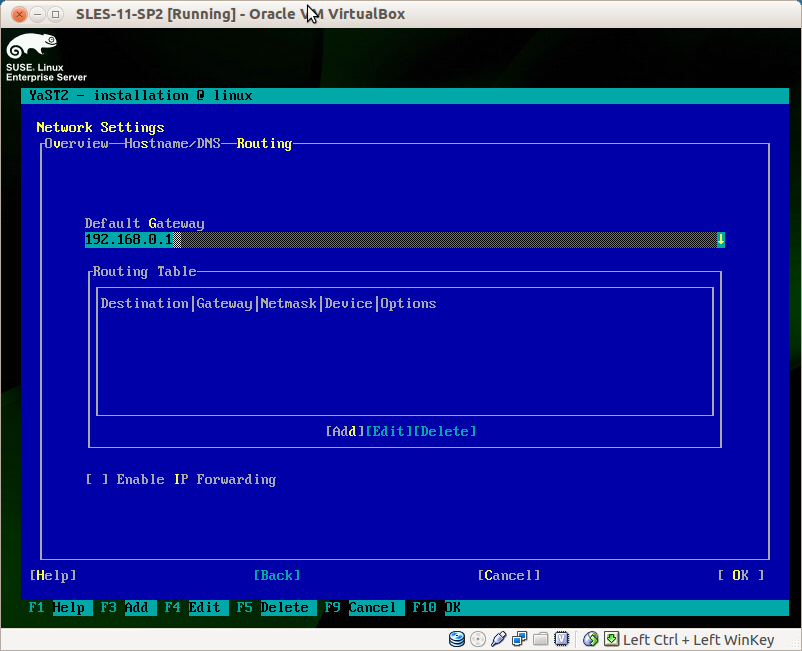
Again use the TAB and the arrows, this time to select Routing tab.
Insert your default gateway IP address.
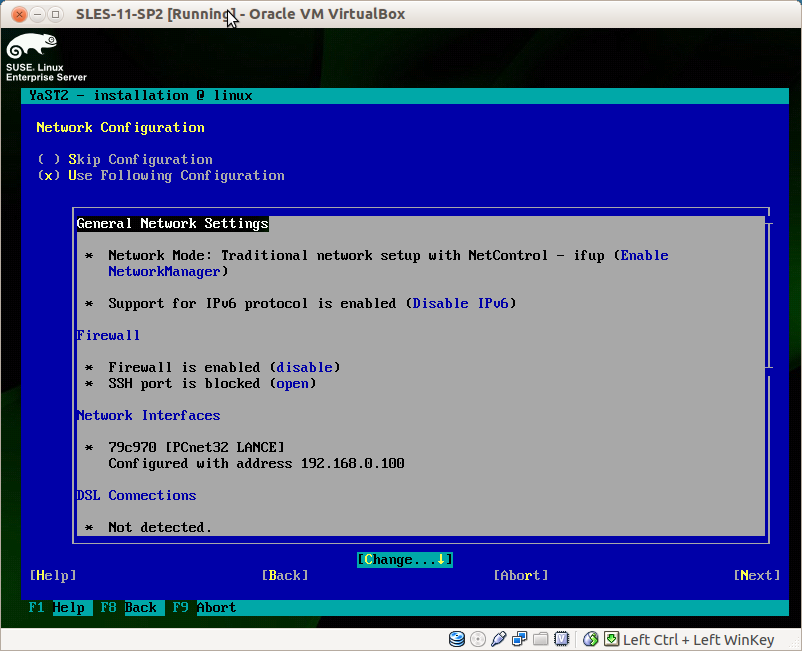
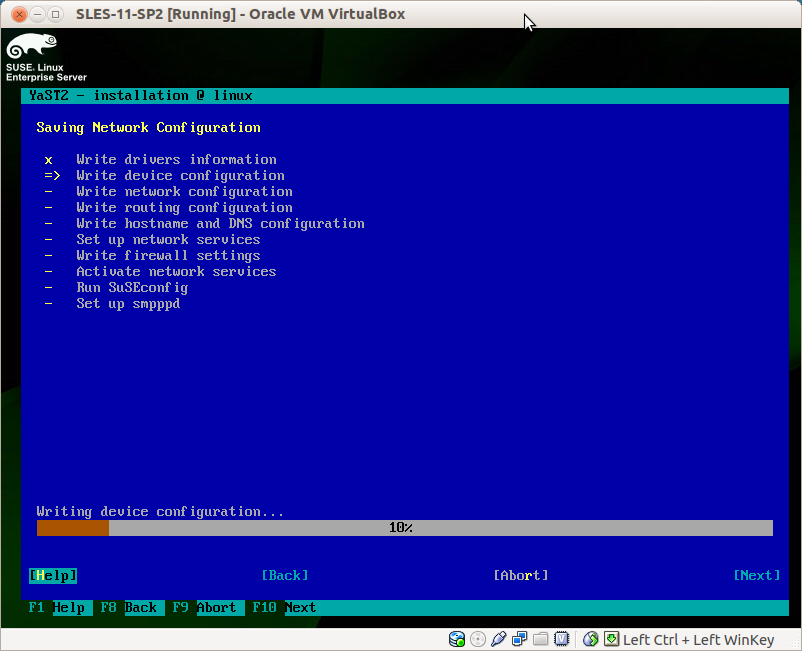
When you have finished, the network configuration summary will appear again, select Next to save it.
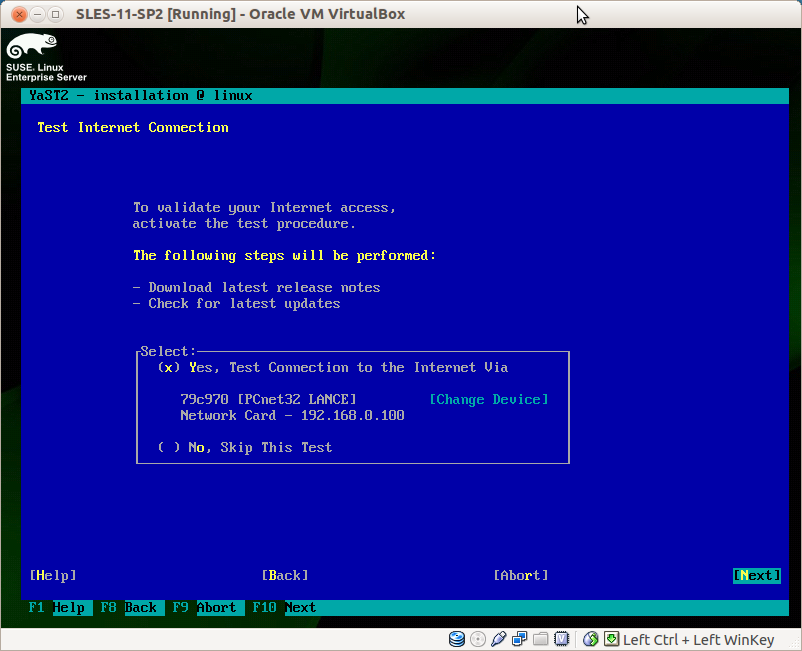
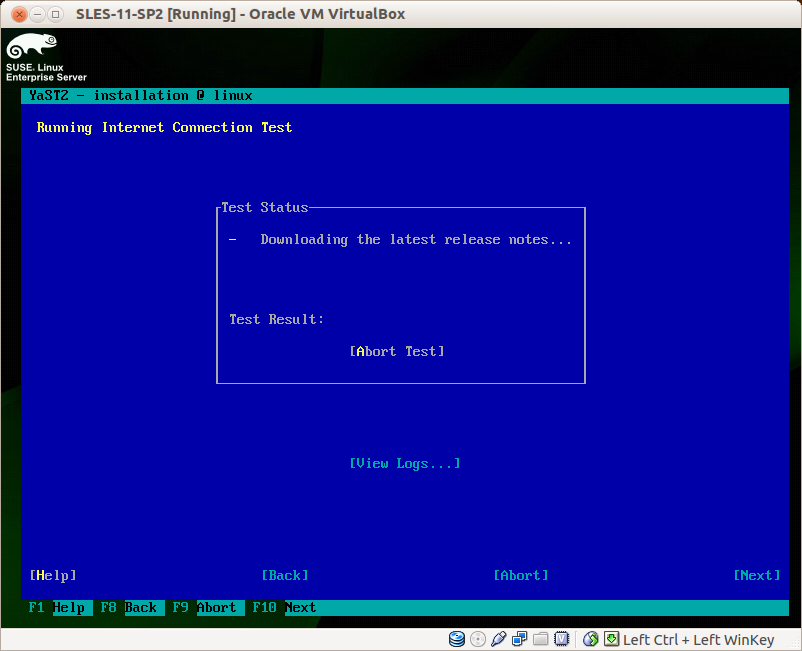
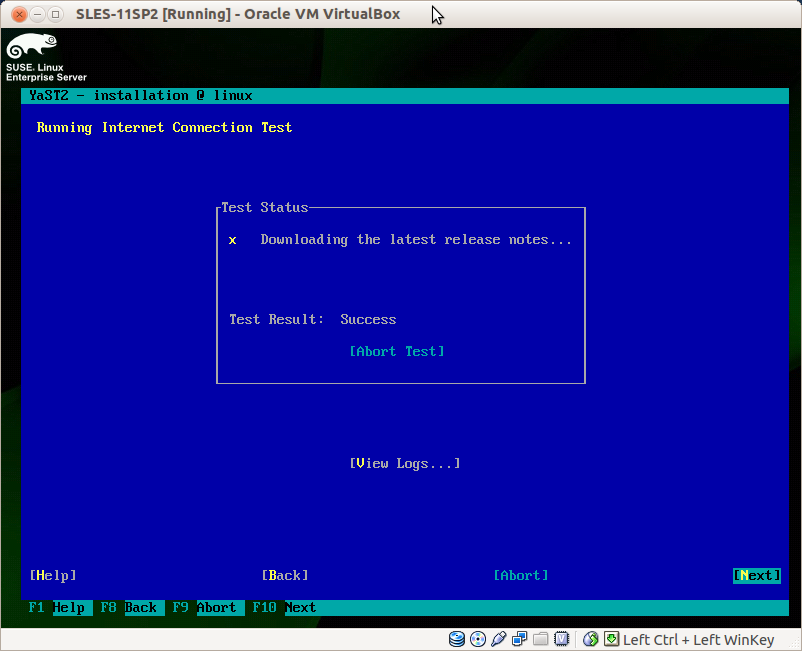
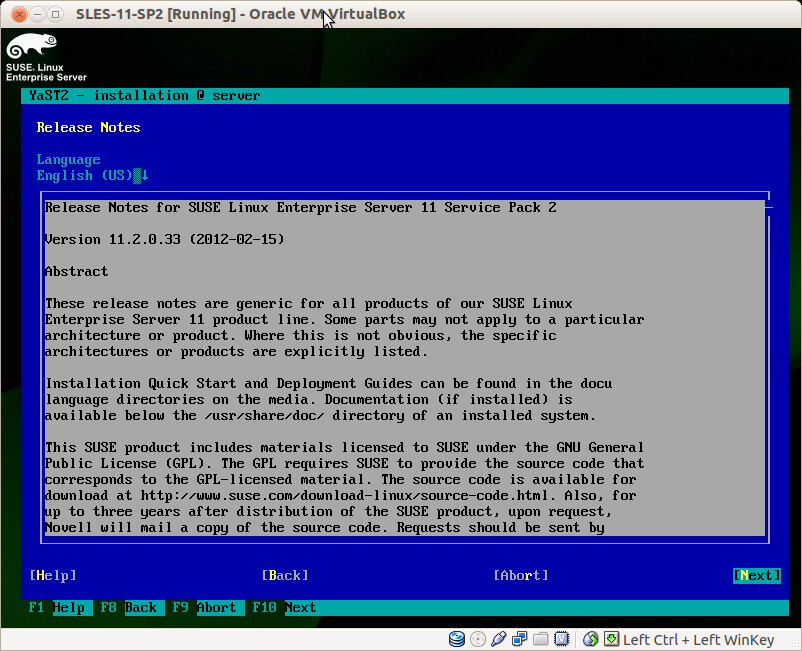
You can test your network connection by downloading the release notes.
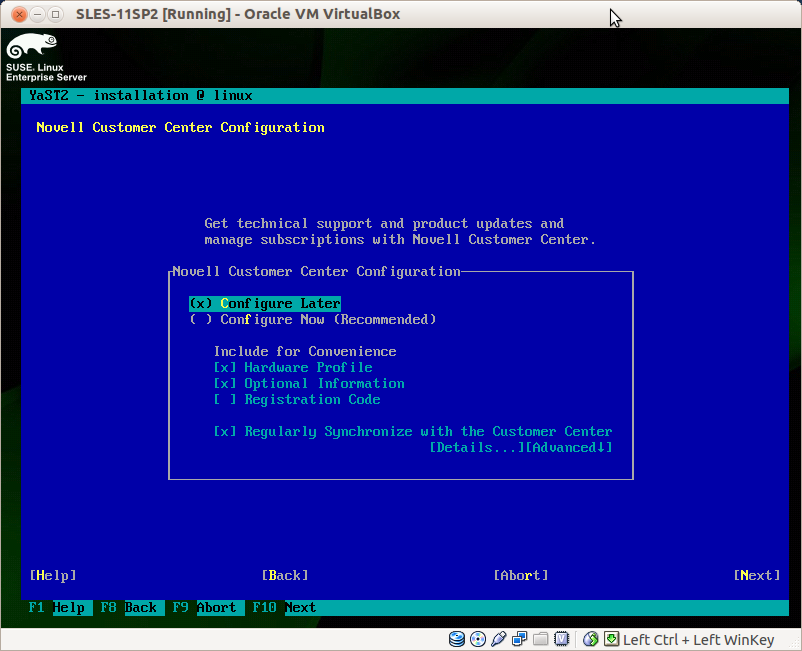
If the test is successful it will ask to configure the Novell Customer Center, which I skipped.
Network Services
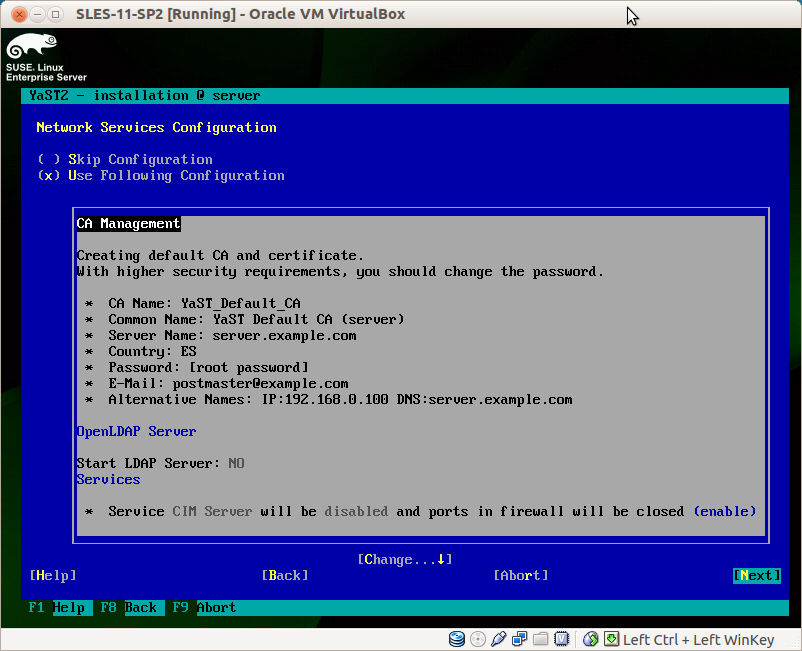
Now YaST2 will create the server's certificate, I didn't change the defaults so just select Next and go ahead.
User Authentication Method
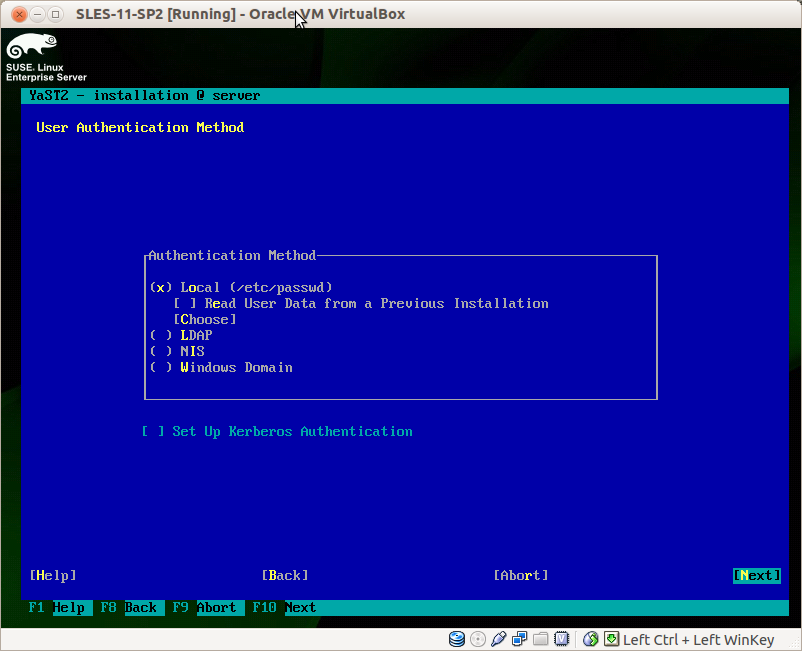
Here you can choose how users will be authenticated to the system.
This is just a testing server, so local authentication using the
/etc/passwd file it's enough. For an enterprise environment you may
want to set one of the other options: LDAP, NIS or Windows Domain.
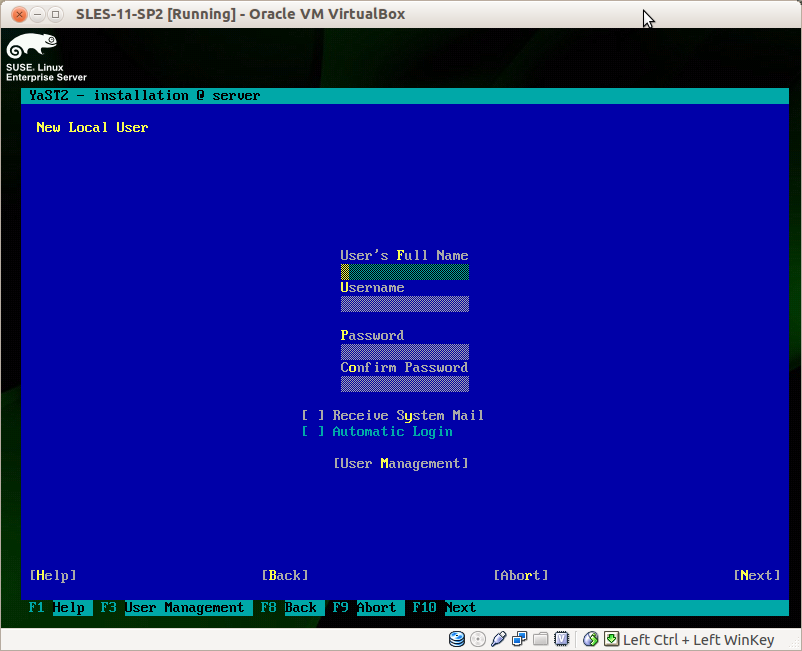
Enter your username and password for a local user. This user will be granted to use sudo and you'll be able to administer the system.
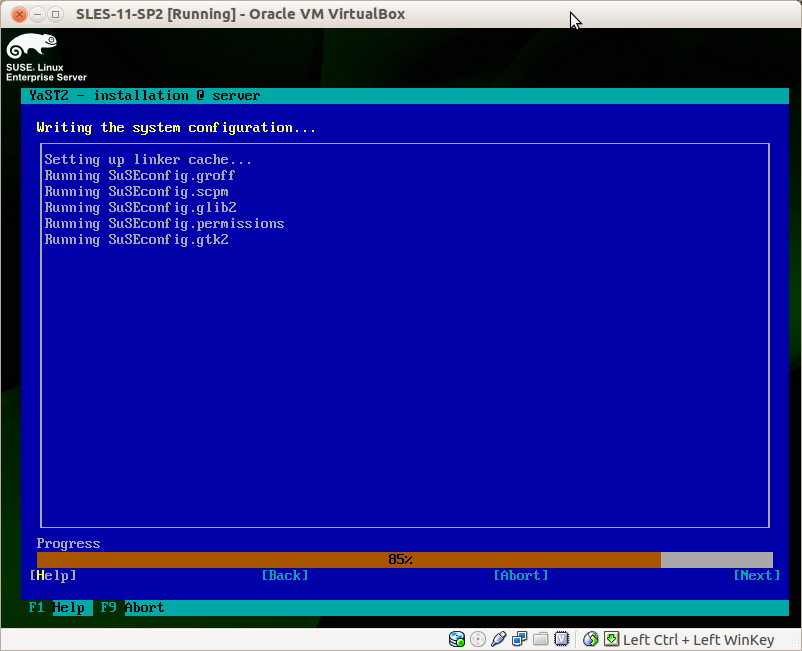
Finishing the Configuration
Configuration is almost done.
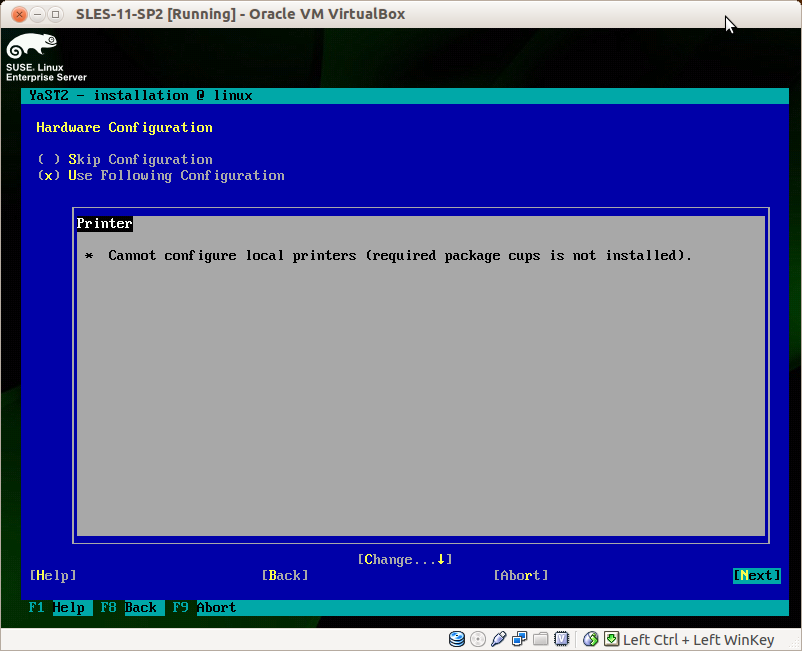
In my case I've got a message that it cannot configure local printers. This is due because I have deselect "Print Server" from list of software to install as I don't need it.
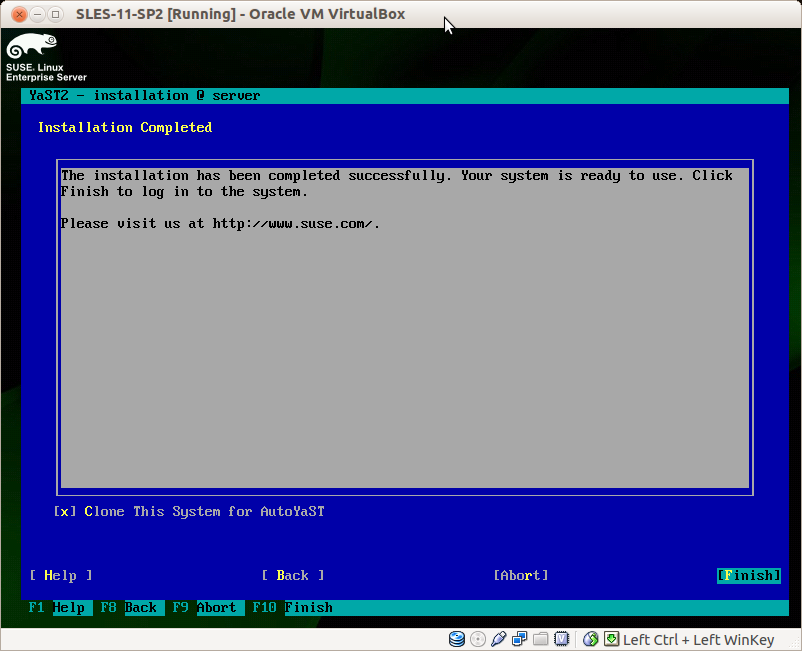
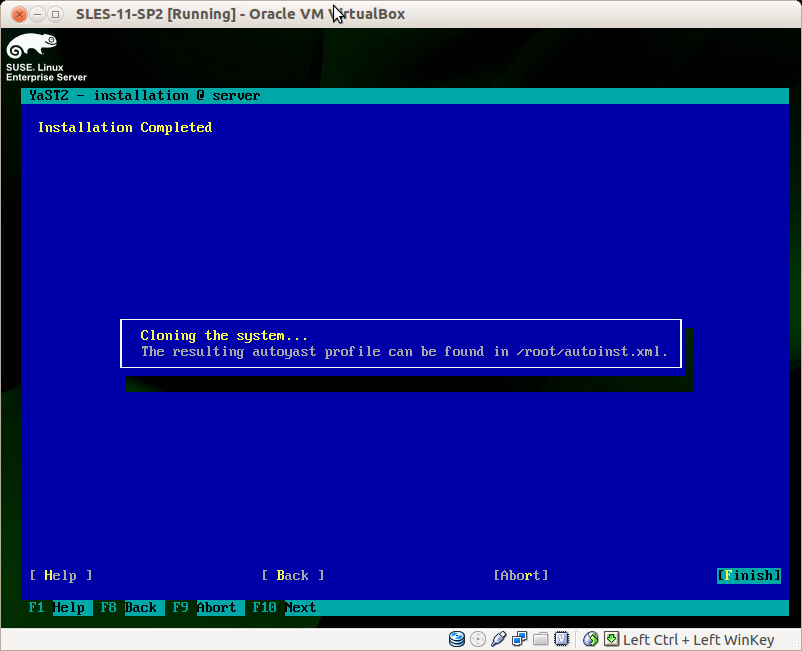
Installation is completed now.
In the previous screen, you may want to select Clone This System for AutoYaSt checkbox.
This will generate an xml file which can be used to install other servers with the same configuration without going through the whole process again.
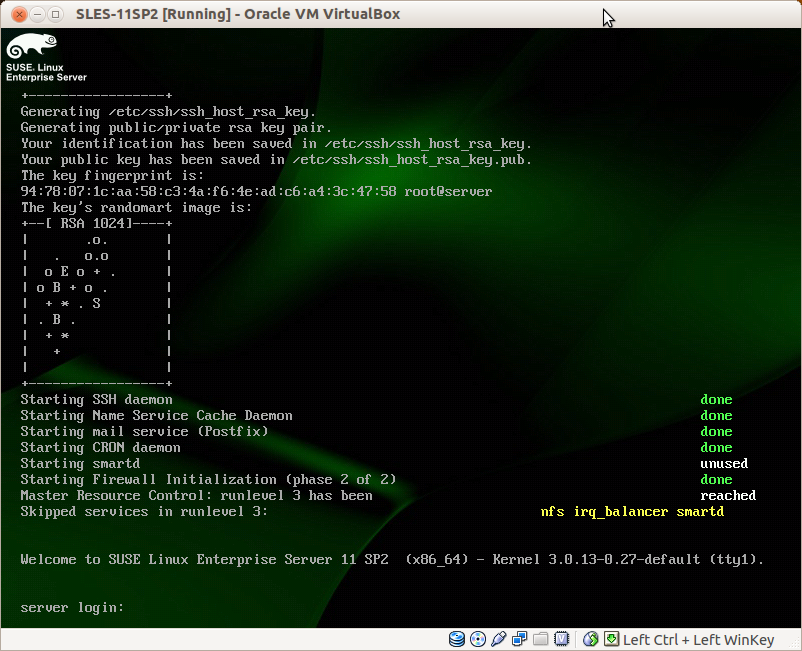
After that, the system will give you its prompt and you can login.
That's it! Now you have a basic Suse Linux Enterprise Server 11 installed.
Danilo
